
Cotton Candy Cake Recipe: 5 Secrets for a Fluffy Cake
Did you know that desserts inspired by cotton candy have surged in popularity thanks to their nostalgic flavor and eye-catching pastel colors? If you have ever stared at a pastel-swirled, cloud-soft Cotton Candy Cake at a birthday party and wondered how someone created it at home, you are not alone.
Most home bakers assume that kind of dreamy, bakery-worthy cake requires professional equipment. The truth is, it all comes down to five simple but game-changing secrets.
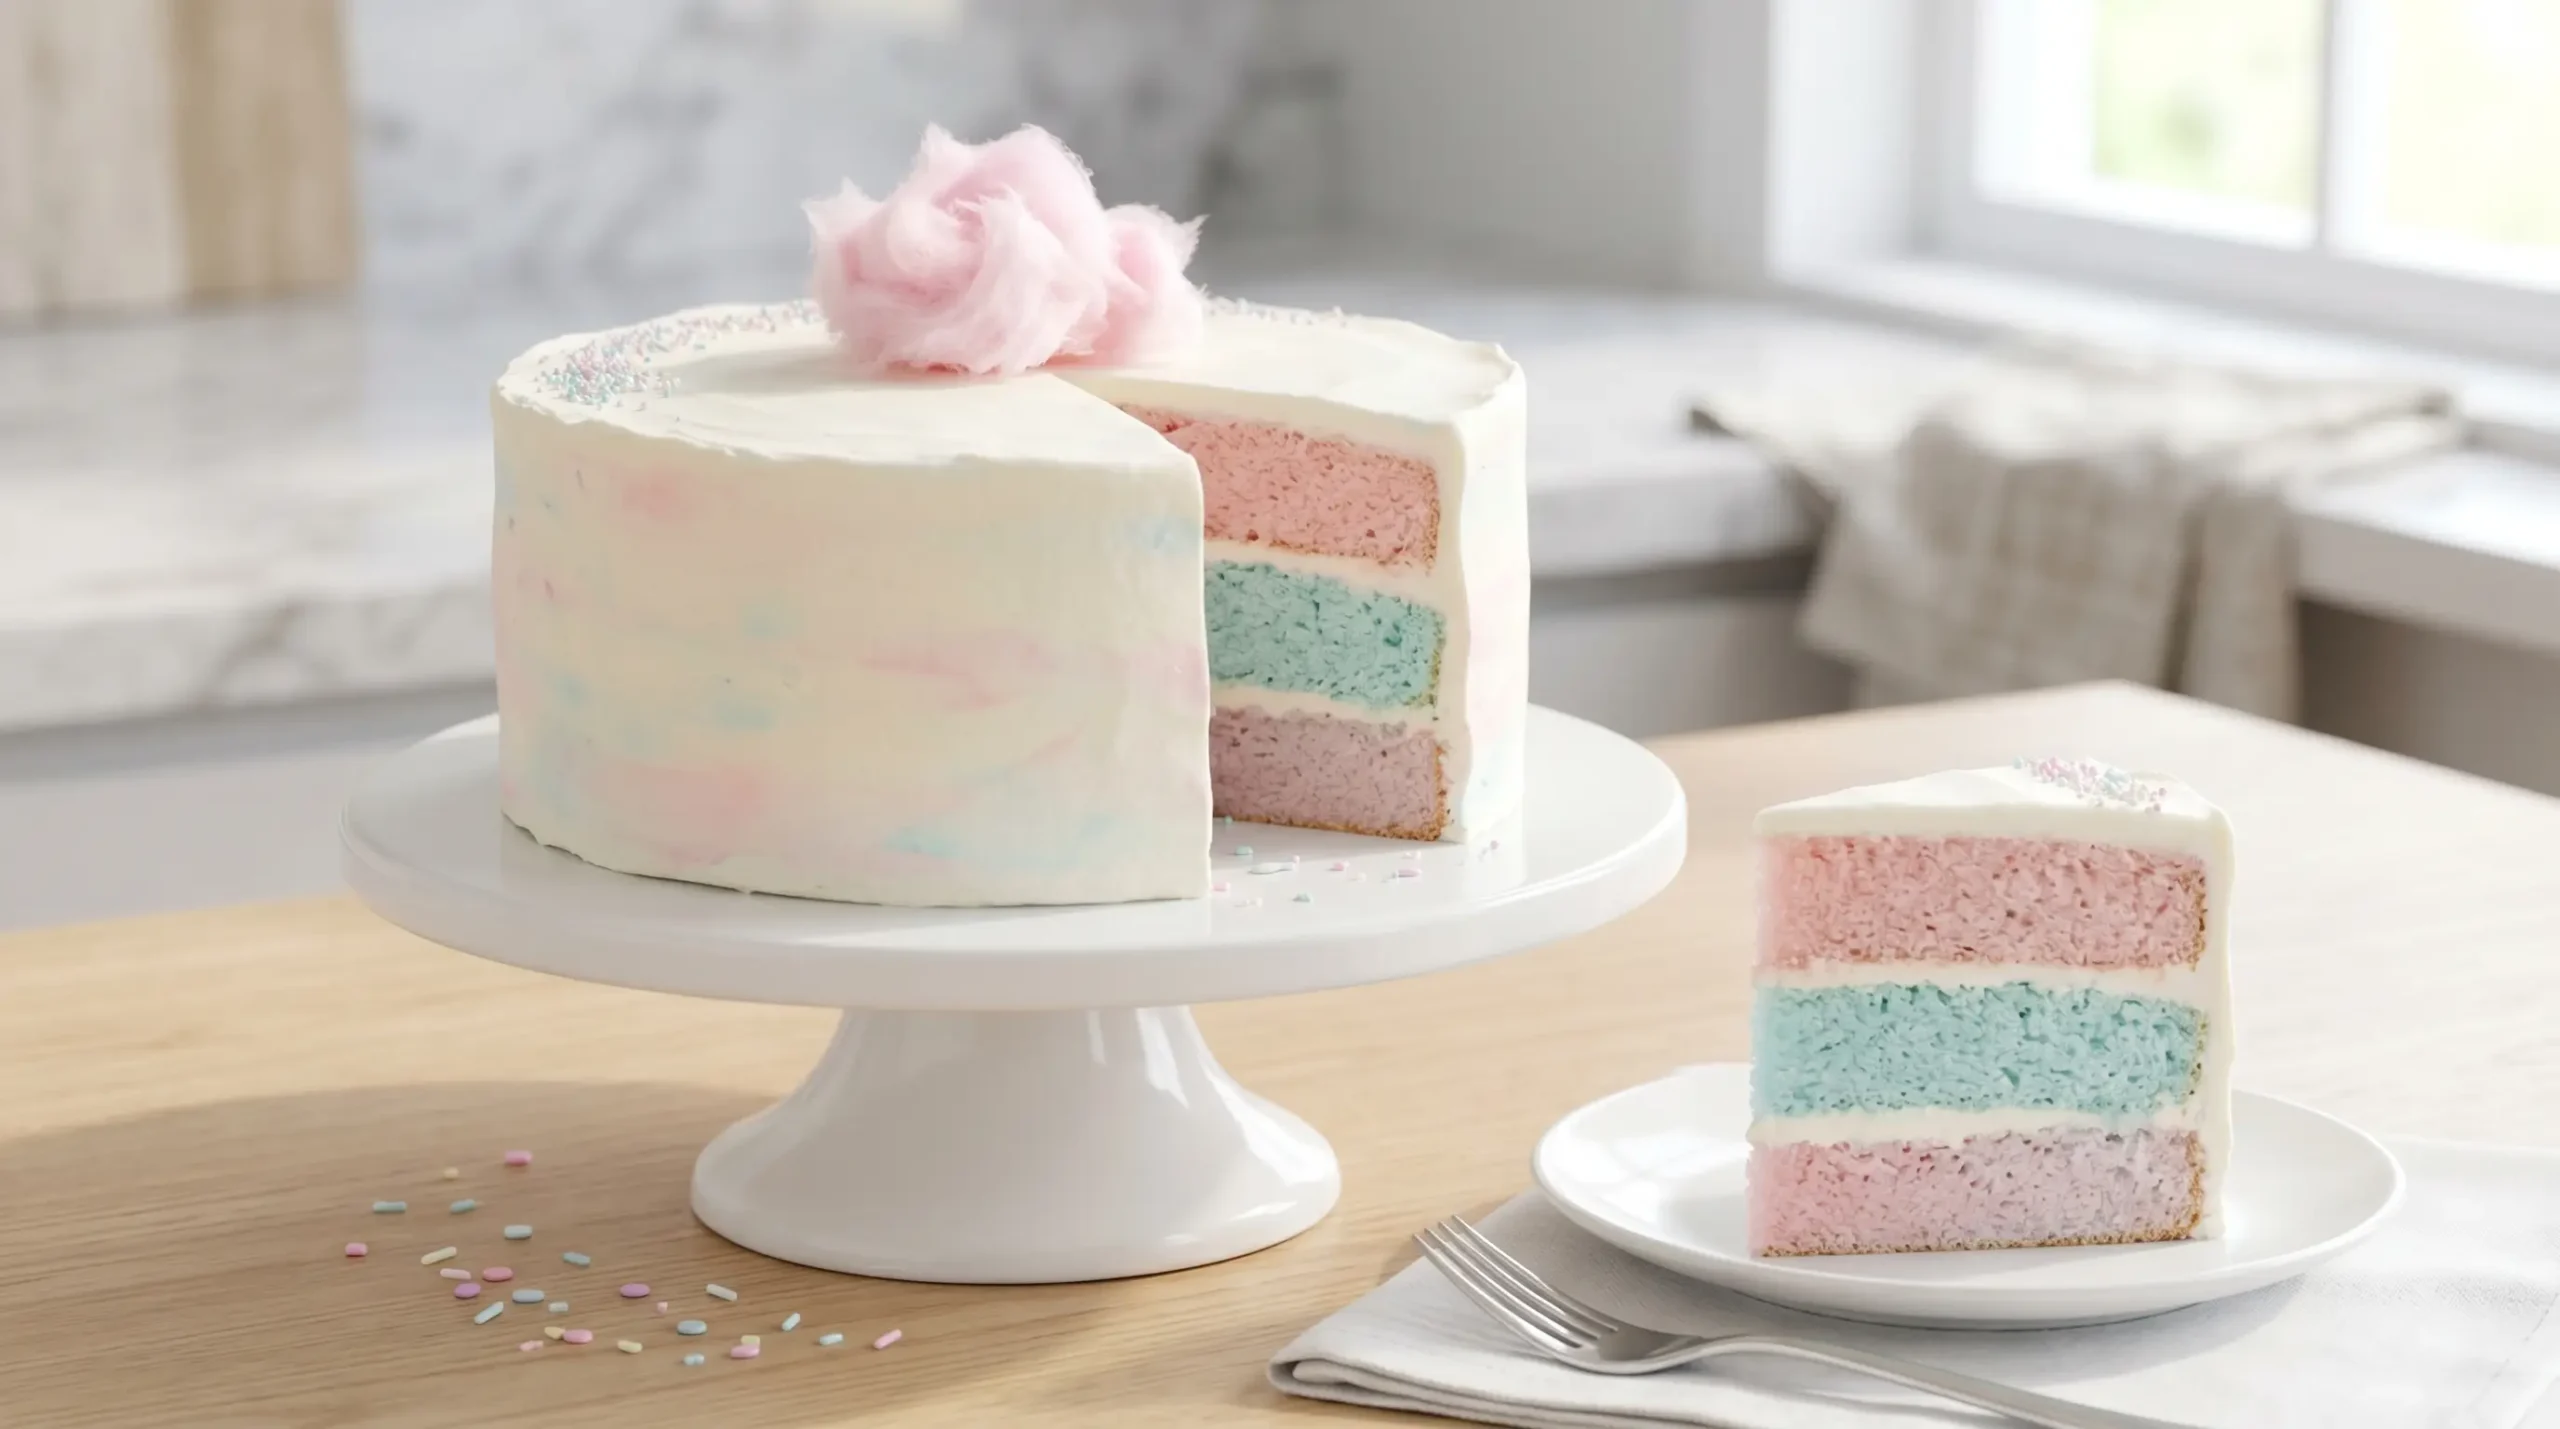
In this post, you’ll learn the complete Cotton Candy Cake recipe along with expert tips for creating a fluffy cotton candy cake with beautiful pastel swirls, a soft crumb, and bakery-style flavor. Whether you’re baking for a kid’s birthday, a baby shower, or simply want a fun homemade birthday cake, this easy cotton candy cake recipe has you covered.
Cotton Candy Cake
Ingredients
Method
- Preheat the oven to 350°F (175°C). Grease and line two 8-inch round cake pans with parchment paper.
- In a medium bowl, whisk together the flour, baking powder, and salt.
- In a large bowl, beat the softened butter and sugar until light and fluffy, about 3–4 minutes.
- Add the egg whites one at a time, beating well after each addition. Mix in the vanilla extract and cotton candy flavoring.
- Alternately add the dry ingredients and milk to the butter mixture, beginning and ending with the dry ingredients. Mix just until combined.
- Divide the batter evenly into two bowls. Tint one bowl pink and the other blue using gel food coloring.
- Spoon alternating dollops of each colored batter into the prepared cake pans. Gently swirl with a knife to create a pastel marble effect without overmixing.
- Bake for 28–32 minutes, or until a toothpick inserted into the center comes out clean.
- Cool the cakes in the pans for 10 minutes, then transfer them to a wire rack to cool completely.
- Beat the butter until creamy. Gradually add the powdered sugar, then mix in the heavy cream and cotton candy flavoring until smooth and fluffy.
- Divide the frosting into two bowls and tint one pink and the other blue. Frost and stack the cooled cake layers, creating a soft pastel swirl effect.
- Decorate with sprinkles, edible glitter, and fresh cotton candy just before serving for the best presentation.
Notes
- Use room-temperature ingredients for a smooth batter.
- Gel food coloring creates vibrant pastel colors without thinning the batter.
- Do not overmix the batter to keep the cake light and fluffy.
- Let the cake cool completely before frosting.
- Store leftovers in an airtight container in the refrigerator for up to 4 days.
Table of Contents
Ingredients
Here is everything you need to bring this fluffy, whimsical cake to life. Substitutions are included so you can adapt the recipe to what you have on hand.
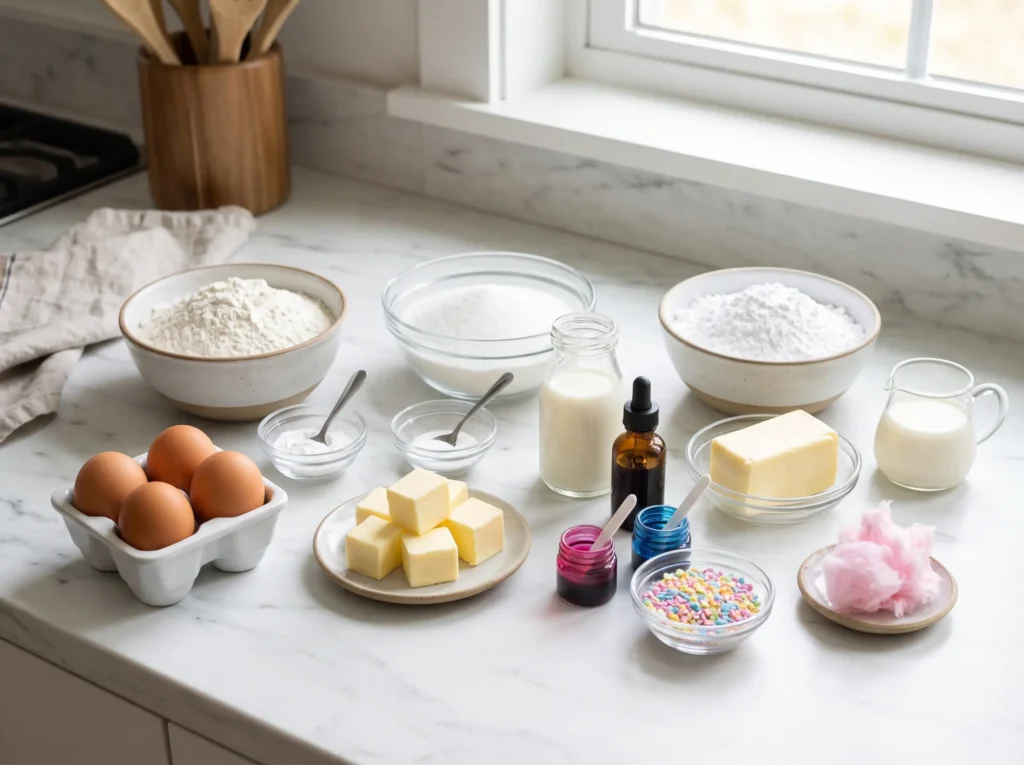
For the Cake Layers:
- 2 and 1/2 cups all-purpose flour (substitute: cake flour for an even lighter crumb)
- 2 and 1/2 teaspoons baking powder
- 1/2 teaspoon salt
- 1 cup unsalted butter, softened to room temperature (substitute: vegan butter works well)
- 1 and 3/4 cups granulated sugar
- 4 large eggs, room temperature
- 1 tablespoon cotton candy flavoring extract (find it in specialty baking stores or online)
- 1 cup whole milk, room temperature (substitute: oat milk or almond milk)
- Pink and blue gel food coloring
For the Cotton Candy Buttercream:
- 1 and 1/2 cups unsalted butter, softened
- 5 cups powdered sugar, sifted
- 3 to 4 tablespoons heavy cream
- 1 teaspoon cotton candy flavoring extract
- Pink and blue gel food coloring
- Pinch of salt
For Decoration:
- Fresh cotton candy (added just before serving)
- Pastel sprinkles
- Edible glitter (optional but absolutely worth it)
These simple ingredients create a homemade cotton candy cake with soft layers, vibrant pastel colors, and the sweet nostalgic flavor of classic carnival cotton candy.
Timing
- Preparation Time: 30 minutes
- Baking Time: 28 to 32 minutes
- Cooling and Frosting Time: 45 minutes
- Total Time: Approximately 1 hour 45 minutes
That is actually around 15% less time than the average layered celebration cake recipe, which typically runs over two hours. Efficient and impressive — making this an easy cotton candy cake recipe for birthdays, baby showers, and special celebrations.
Step-by-Step Instructions
Step 1: Prepare Your Pans and Preheat the Oven
Preheat your oven to 350°F (175°C). Grease three 8-inch round cake pans, line the bottoms with parchment paper, and grease again. This double-layer protection ensures your cake releases cleanly every single time — no heartbreaking sticking.
Step 2: Mix Your Dry Ingredients
In a medium bowl, whisk together the flour, baking powder, and salt. Whisking rather than sifting saves time and still aerates the mixture beautifully. Set aside.
Step 3: Cream the Butter and Sugar
Beat your softened butter and granulated sugar together on medium-high speed for a full 4 to 5 minutes. This is Secret #1: most bakers stop at 2 minutes, but that extra time is what creates the air pockets responsible for that impossibly fluffy crumb. The mixture should look pale, almost white, and feel light when done.
Step 4: Add the Eggs and Flavoring
Add your eggs one at a time, beating well after each addition. Then mix in your cotton candy extract. Secret #2 is simple but crucial: every dairy and egg ingredient must be at room temperature. Cold ingredients cause the batter to curdle and lose the air you just worked so hard to build in Step 3.
Step 5: Alternate Dry Ingredients and Milk
With your mixer on low, add your dry ingredients in three additions, alternating with the milk in two additions. Begin and end with the dry ingredients. Secret #3 here is to never overmix once the flour goes in. Stop as soon as you see the last streak of flour disappear — overmixing activates gluten and makes your cake dense and chewy instead of tender and soft.
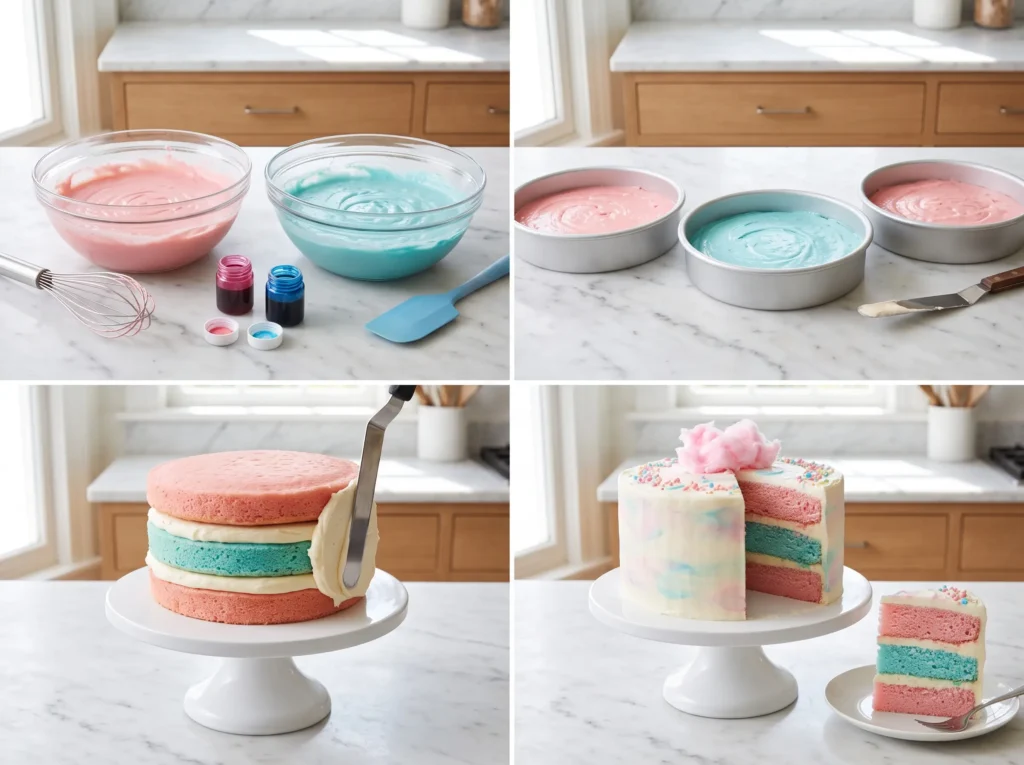
Step 6: Color Your Batter
Divide your batter into two equal bowls. Tint one bowl soft pink and the other a dreamy sky blue using gel food coloring. Gel coloring is far superior to liquid for baking because it delivers vibrant color without adding excess moisture to your batter.
Step 7: Layer and Swirl
Alternate spoonfuls of pink and blue batter into each prepared pan. Use a skewer or butter knife to gently swirl through the batter just two or three times. Do not over-swirl or you will muddy the colors into a grey-purple. You want distinct pastel pockets that look like little clouds.
Step 8: Bake and Cool
Bake for 28 to 32 minutes, or until a toothpick inserted in the center comes out clean. Here is Secret #5 and it might be the most underestimated of all: let your cakes cool in the pans for 10 minutes, then turn them out onto a wire rack and cool completely — at least 45 minutes — before frosting. Frosting a warm cake melts your buttercream and ruins the structure. Patience here is the real secret ingredient.
Step 9: Make the Cotton Candy Buttercream
Beat softened butter on high for 3 minutes until pale and fluffy. Add sifted powdered sugar one cup at a time, mixing on low after each addition. Add cotton candy extract, a pinch of salt, and heavy cream one tablespoon at a time until the frosting is silky and spreadable. Divide and tint pink and blue as desired.
Step 10: Assemble and Decorate
Place your first cake layer on a cake board or plate. Spread an even layer of buttercream, top with the second layer, frost again, and finish with the third. Apply a thin crumb coat all over, refrigerate for 15 minutes, then apply your final frosting layer. Add cotton candy on top just before serving — it dissolves if left out too long.
Nutritional Information
The following values are approximate per slice, based on a 12-slice cake:
| Nutrient | Amount Per Slice |
| Calories | 520 kcal |
| Total Fat | 26g |
| Saturated Fat | 16g |
| Carbohydrates | 68g |
| Sugar | 52g |
| Protein | 5g |
| Sodium | 180mg |
| Fiber | 0.5g |
This is a celebratory cake, so enjoy it as the treat it is designed to be. According to nutritional data, the average slice of a commercial bakery layer cake carries around 580 calories, making this homemade version a slightly lighter indulgence.
Healthier Alternatives for the Recipe
You do not have to sacrifice the magic to make this Cotton Candy Cake a little more wholesome. Here are some smart swaps:
- Reduce sugar: Cut the granulated sugar to 1 and 1/2 cups and use a natural cotton candy flavoring to compensate for sweetness.
- Lighter frosting: Swap half the butter in the buttercream for whipped cream cheese to reduce fat while keeping it creamy.
- Gluten-free version: Use a 1:1 gluten-free baking flour blend. Bob’s Red Mill and King Arthur both perform excellently in layer cakes.
- Dairy-free: Replace butter with vegan butter, milk with oat milk, and heavy cream with full-fat coconut cream. The result is still incredibly moist.
- Lower calorie option: Reduce layers to two instead of three and use a lighter whipped frosting rather than traditional buttercream, cutting roughly 120 calories per slice.
Serving Suggestions
A Cotton Candy Cake is already a showstopper, but how you serve it takes the experience to the next level:
- Birthday parties: This cotton candy birthday cake is perfect served with a small tuft of cotton candy on a stick for a fun carnival-themed presentation.
- Baby showers: Use pink-only coloring and pair slices with champagne or sparkling lemonade for an elegant, whimsical dessert moment.
- Dessert tables: Serve mini cupcake versions of the same recipe in pastel liners to round out a full cotton candy-themed dessert spread.
- Individual plating: Dust each plate with edible glitter before placing the slice for an instantly Instagrammable presentation.
- Ice cream pairing: A scoop of vanilla bean or strawberry ice cream alongside a slice creates a dreamy hot-and-cold combination.
Common Mistakes to Avoid
Even experienced bakers stumble with this recipe. Here are the most frequent pitfalls and exactly how to sidestep them:
- Using liquid food coloring: It waters down the batter and produces dull, muddy colors. Always use gel food coloring.
- Skipping room temperature ingredients: This is the single most common reason cakes turn out dense. Pull your butter, eggs, and milk out at least one hour before baking.
- Over-swirling the batter: More than three gentle swirls blends the colors too much. Restraint creates beauty here.
- Frosting a warm cake: Even slightly warm cake melts buttercream and causes layers to slide. Always wait for a complete cool.
- Adding cotton candy decoration too early: Cotton candy absorbs moisture from the frosting and dissolves within hours. Always add it within 1 to 2 hours of serving.
- Overbaking: Check at the 28-minute mark. Overbaked layers lose their moisture and the fluffy texture that makes this cake special.
Storing Tips for the Recipe
Proper storage keeps your Cotton Candy Cake tasting fresh and looking gorgeous:
- Room temperature: The frosted cake can sit covered at room temperature for up to 2 days in a cool, dry environment. Avoid humid kitchens as they affect the frosting texture.
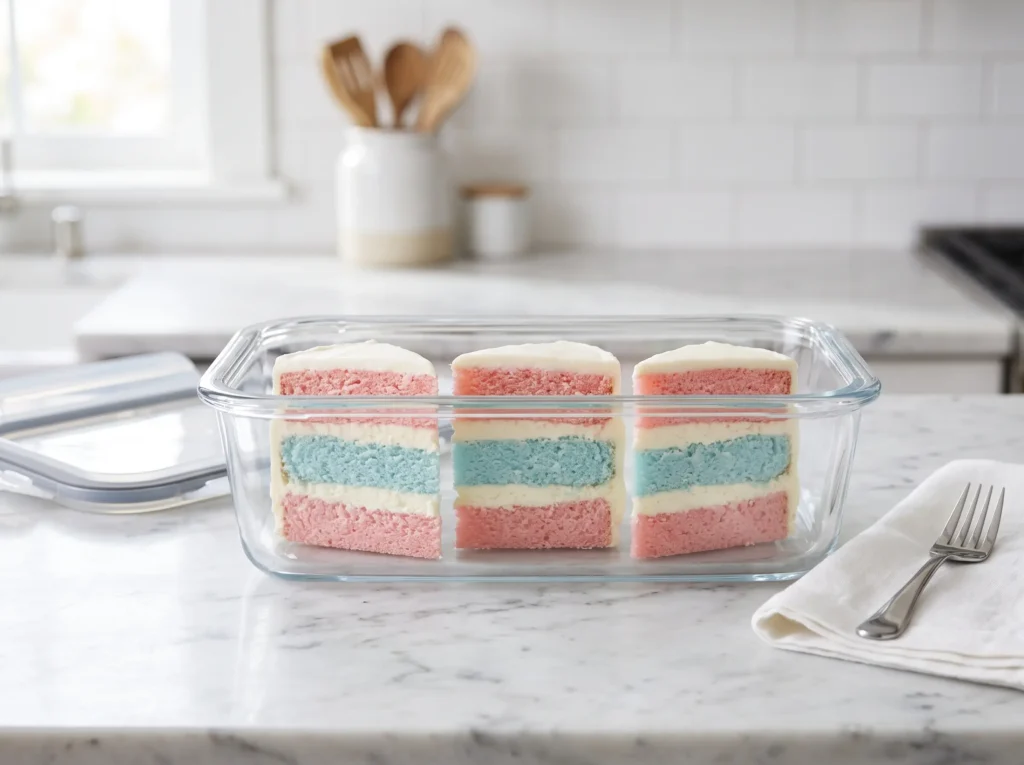
- Refrigerator: Store frosted cake in an airtight container or under a cake dome in the refrigerator for up to 5 days. Allow the cake slices to sit at room temperature for about 20 minutes before serving to achieve the best flavor and texture.
- Freezing cake layers: Unfrosted cake layers can be frozen for up to 2 months. Wrap each layer securely in plastic wrap, then cover with a layer of aluminum foil to maintain freshness and prevent freezer burn.
- Freezing frosted slices: Individual frosted slices can be frozen on a baking sheet until firm, then wrapped and stored for up to 6 weeks.
- Cotton candy decoration: Never store the cake with cotton candy already on it. Add fresh cotton candy only when you are ready to serve.
Conclusion
This Cotton Candy Cake recipe proves that a bakery-level masterpiece is 100% achievable at home. By creaming your butter long enough, keeping ingredients at room temperature, using the alternate mixing method, swirling gently, and cooling completely before frosting, you unlock a cake that is fluffy, flavorful, and absolutely stunning. Now it is your turn — bake it, style it, and share it! Try the recipe and drop your results in the comments below. We would love to see your creations. Subscribe for more recipes delivered straight to your inbox every week.
- If you enjoyed this Cotton Candy Cake recipe, try my Pineapple Cloud Cake for another soft, colorful, and celebration-worthy cake.
- Looking for a fun party dessert? Try my Strawberry Crunch Cheesecake for a colorful no-bake treat.
- For more celebration-worthy desserts, browse our Cake collection.
FAQs
What does Cotton Candy Cake taste like?
It tastes like a classic vanilla layer cake infused with the sweet, airy, carnival-like flavor of cotton candy. The cotton candy extract gives it a distinctly sugary, fruity note that is light and not overwhelming.
Where can I find cotton candy flavoring extract?
It is widely available online through retailers like Amazon and in specialty baking stores. LorAnn Oils and Amoretti both make excellent cotton candy flavor concentrates that work beautifully in this recipe.
Can I make this cake ahead of time?
Absolutely. You can bake the cake layers up to two days in advance and store them wrapped at room temperature, or freeze them for up to two months. Make the buttercream a day ahead and refrigerate it in an airtight container. Re-whip briefly before using.
Can I make Cotton Candy Cake cupcakes with this recipe?
Yes, this batter converts perfectly into cupcakes. Fill cupcake liners two-thirds full and bake at 350°F (175°C) for 18 to 20 minutes. The recipe yields approximately 24 standard cupcakes.
Why did my colors turn out muddy instead of pastel?
This usually happens when liquid food coloring is used instead of gel, or when the batter is over-swirled. Use a small amount of gel coloring and limit your swirling to two or three gentle passes.
Can I use a boxed cake mix as a base?
You can, though the texture and flavor will differ from scratch. If using a box mix, add one teaspoon of cotton candy extract and follow the mix instructions. Substitute the water called for in the mix with whole milk for a richer crumb.
How far in advance can I add the cotton candy decoration?
Add cotton candy no more than one to two hours before serving. It begins dissolving when it contacts the moisture in the frosting, so timing your decoration is key to achieving that picture-perfect finish.
Can I make this Cotton Candy Cake recipe without food coloring?
Yes. The cake will still have the signature cotton candy flavor without the pastel colors. Simply omit the food coloring and enjoy a classic white cotton candy cake with the same fluffy texture and sweet flavor.
Bake It. Love It. Tell Us About It.
There are no reviews yet. Be the first one to write one.