
Bread Machine Recipes: 5 Easy Loaves for Beginners
Did you know that bread machine sales jumped by over 65% during the last few years, yet surveys show that nearly half of new owners use their machines fewer than five times before giving up? If that sounds familiar, the problem is almost never the machine — it is the recipes.
The right bread machine recipes make all the difference between a dense, gummy disappointment and a golden, perfectly risen loaf that fills your kitchen with the kind of warmth that only fresh-baked bread can deliver. Whether you just unboxed your first machine or have had one collecting dust on the counter, this guide gives you five foolproof loaves built specifically for beginners, plus every tip you need to get them right from the very first bake.
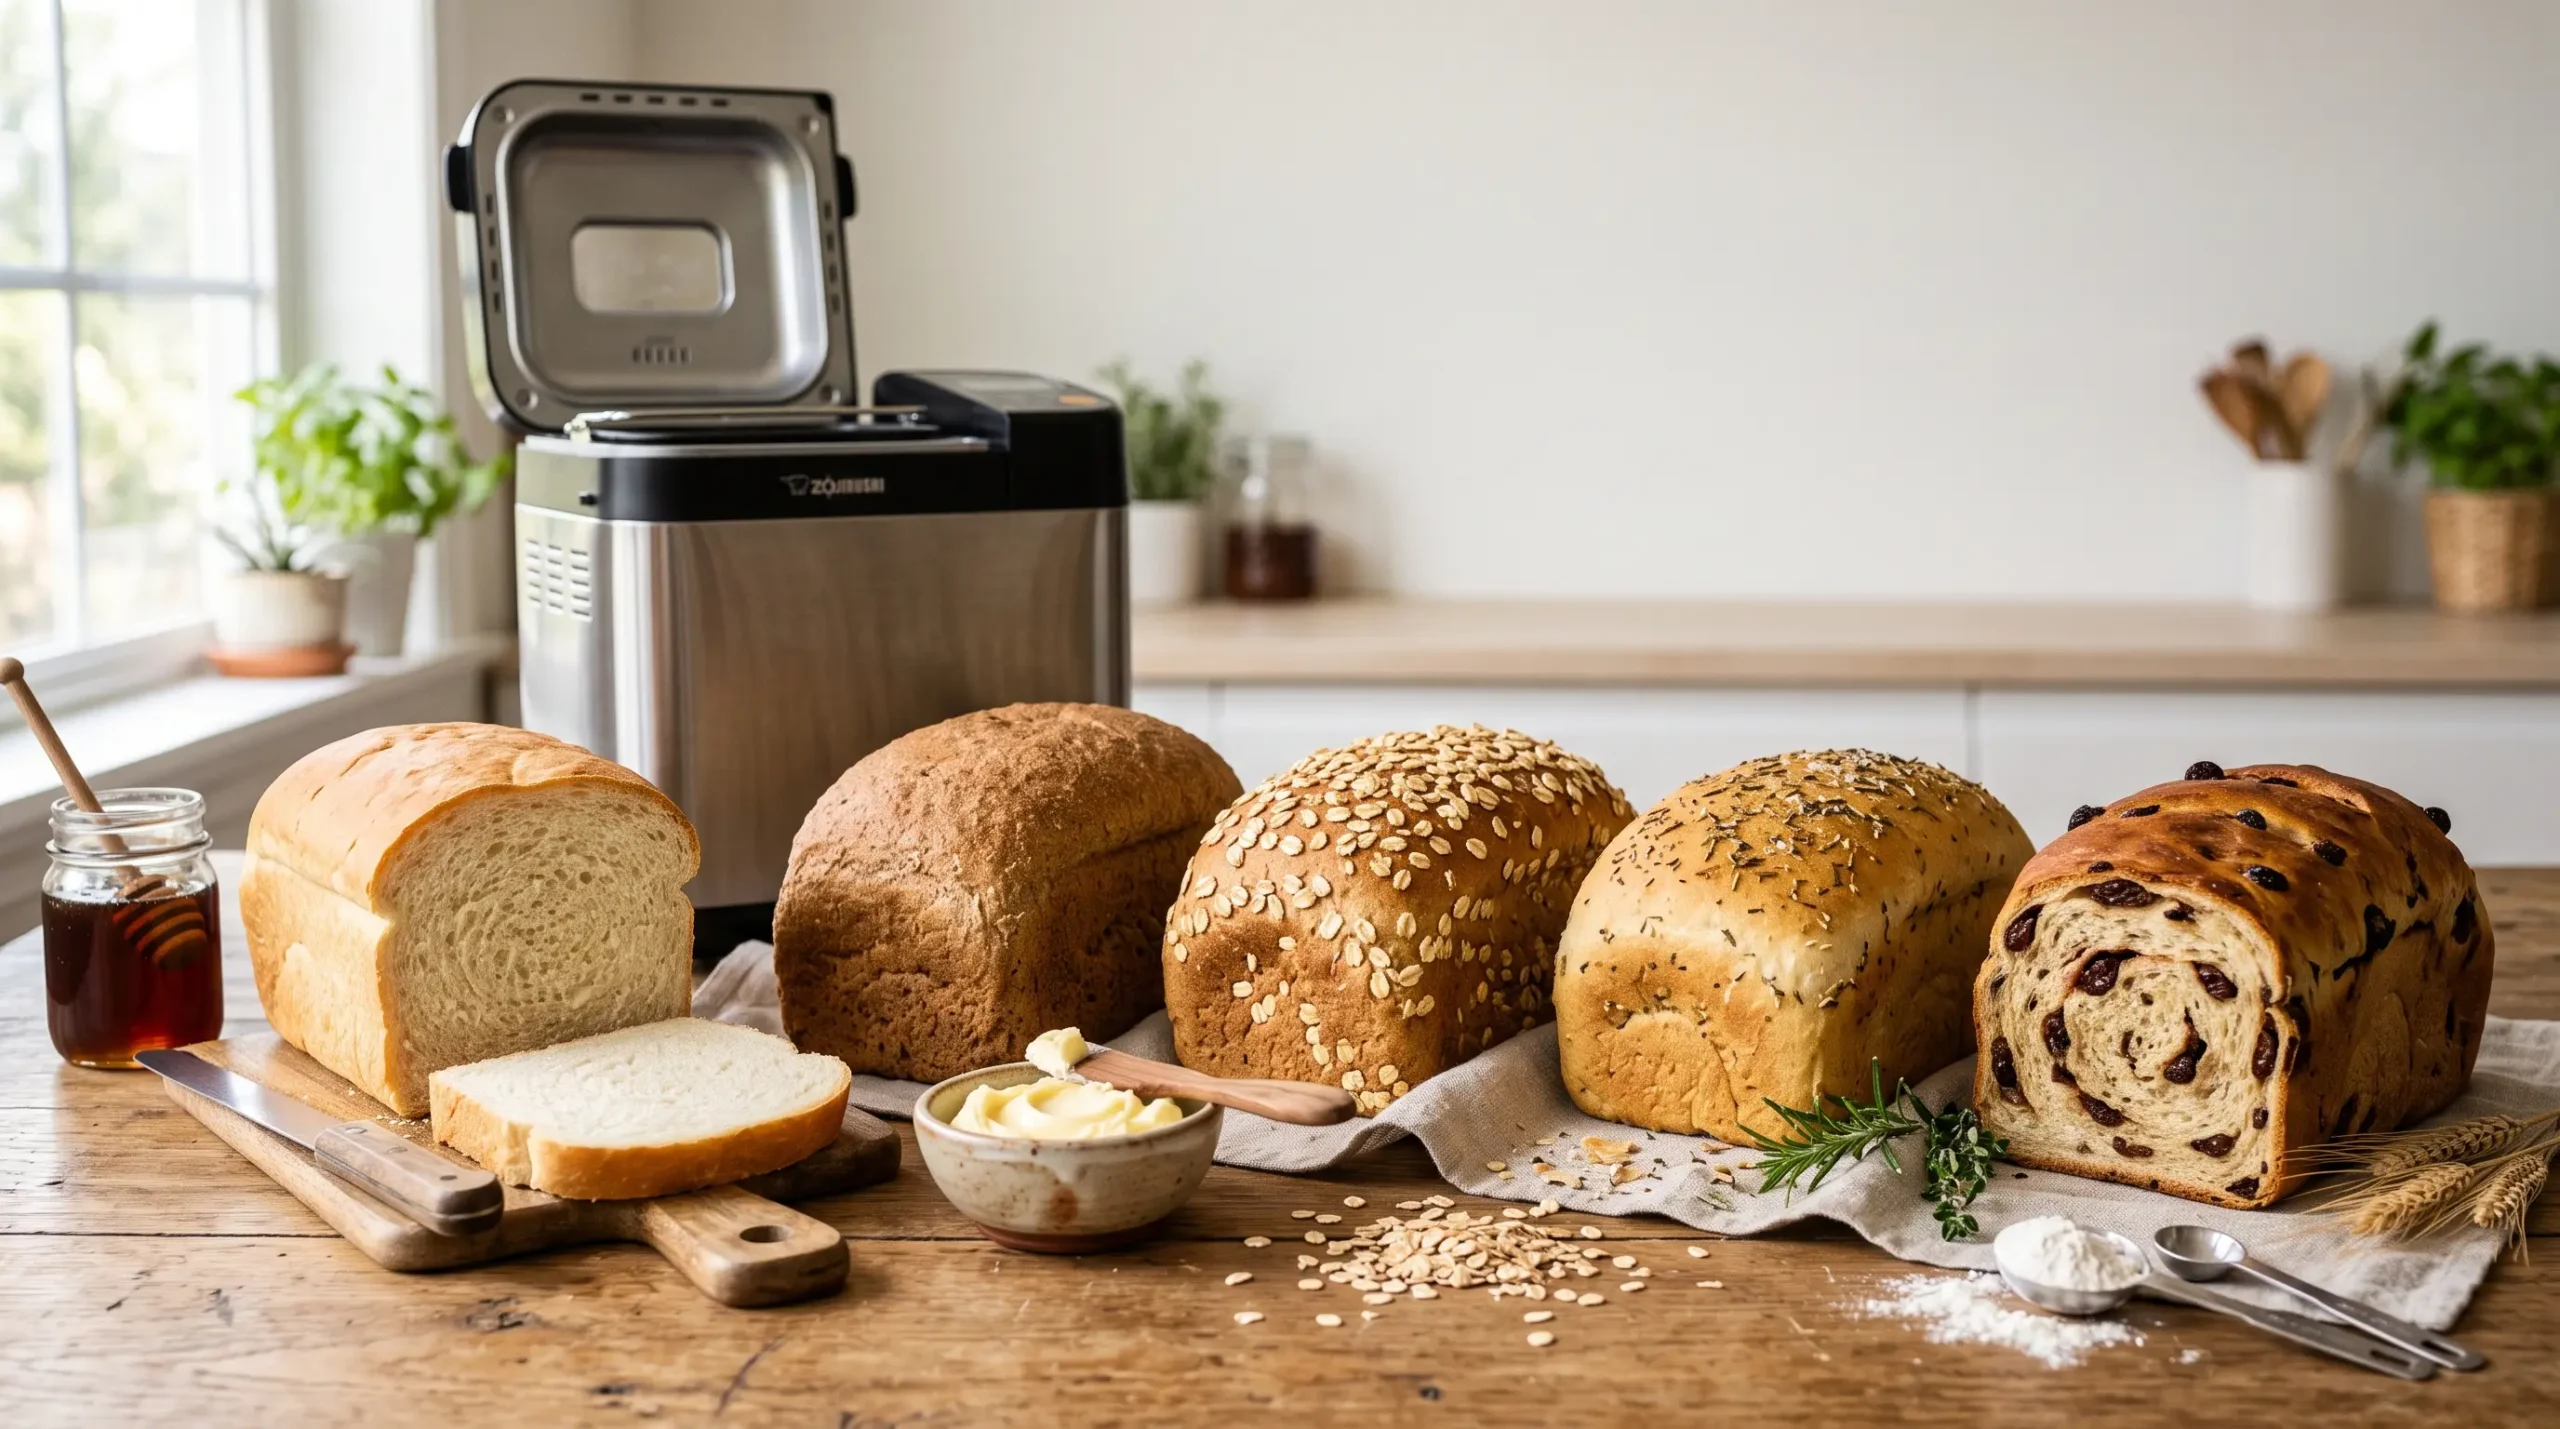
These bread machine recipes use simple pantry ingredients and beginner-friendly techniques to help you bake soft, flavorful homemade bread with confidence. Whether you prefer classic white bread, hearty whole wheat, garlic herb, cinnamon raisin, or honey oat, you’ll find an easy loaf for every occasion.
The recipe card below features the classic white bread loaf. You’ll also find complete recipes for Whole Wheat, Honey Oat, Garlic Herb, and Cinnamon Raisin bread later in this guide.
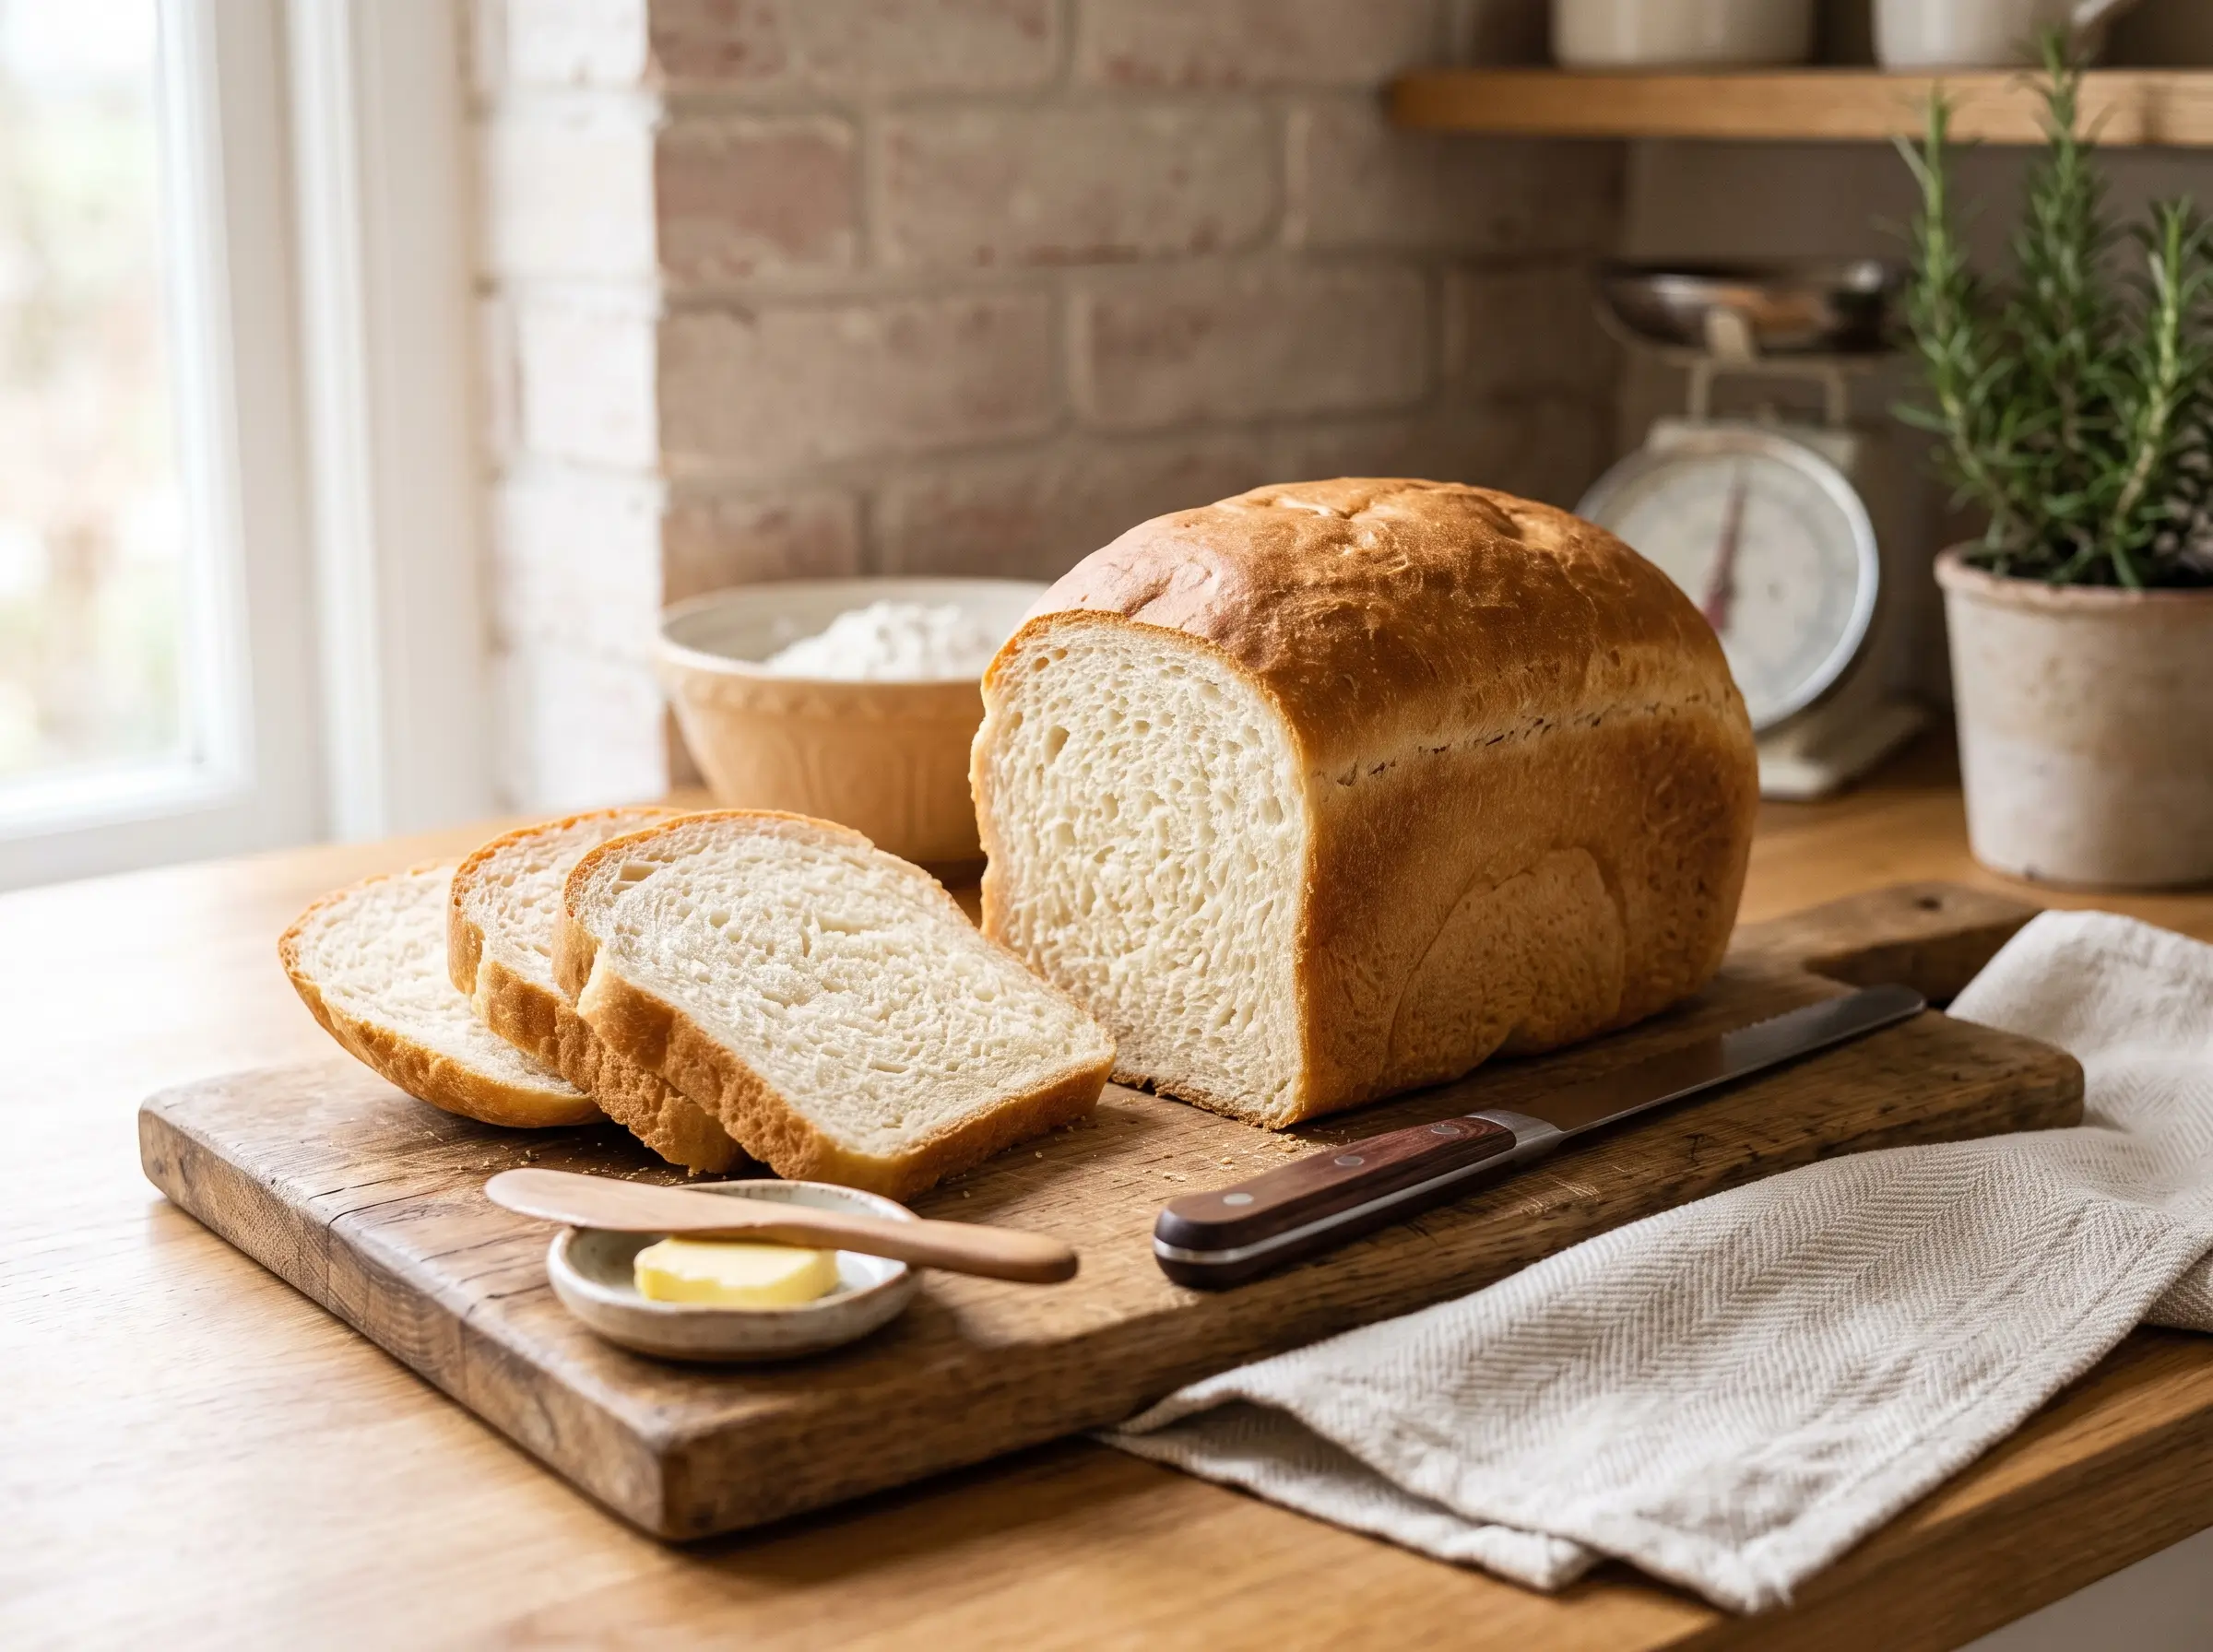
Classic Bread Machine White Bread
Ingredients
Method
- Add the warm water, butter, sugar, and salt to the bread machine pan.
- Add the bread flour, making sure it completely covers the liquid.
- Make a small well in the center of the flour and add the instant yeast, keeping it away from the liquid.
- Insert the pan into the bread machine and select the Basic or White Bread cycle with your preferred crust setting.
- After about 10 minutes of kneading, check the dough. It should form a smooth, slightly tacky ball. If it’s too dry, add 1 teaspoon of water at a time. If it’s too sticky, add 1 teaspoon of bread flour at a time.
- Allow the bread machine to complete the full cycle.
- Remove the loaf from the pan immediately after baking and cool on a wire rack for at least 1 hour before slicing.
Notes
- Bread flour produces the best rise and texture because of its higher protein content.
- Measure ingredients accurately for consistent results.
- Check the dough during the first kneading cycle and adjust with small amounts of flour or water if needed.
- Allow the bread to cool completely before slicing to prevent a gummy texture.
- Store the cooled loaf in an airtight container for up to 3 days or freeze for up to 3 months.
Table of Contents
Ingredients
These bread machine recipes use everyday pantry ingredients to create five easy homemade loaves with soft texture, rich flavor, and reliable results. Below are the ingredients for each recipe so you can choose your favorite and start baking with confidence.
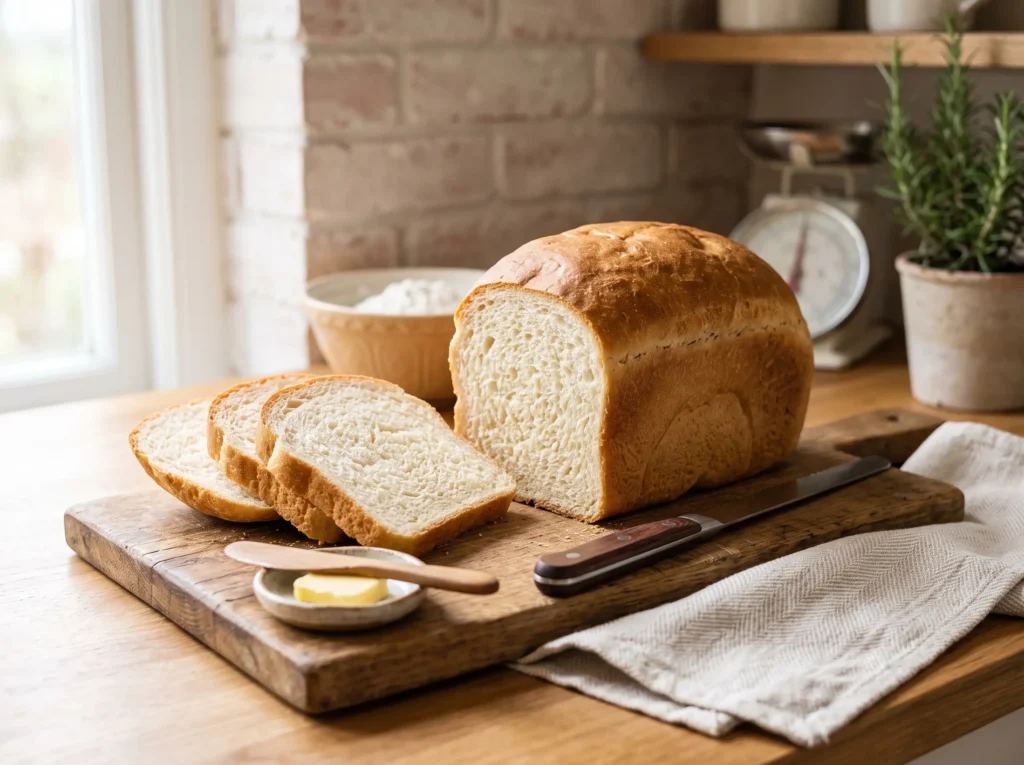
Loaf 1 — Classic White Sandwich Bread:
- 1 cup warm water (110°F)
- 2 tablespoons unsalted butter, softened (substitute: olive oil)
- 3 cups bread flour (substitute: all-purpose flour in a pinch)
- 2 tablespoons granulated sugar
- 1 and 1/2 teaspoons salt
- 2 and 1/4 teaspoons active dry yeast
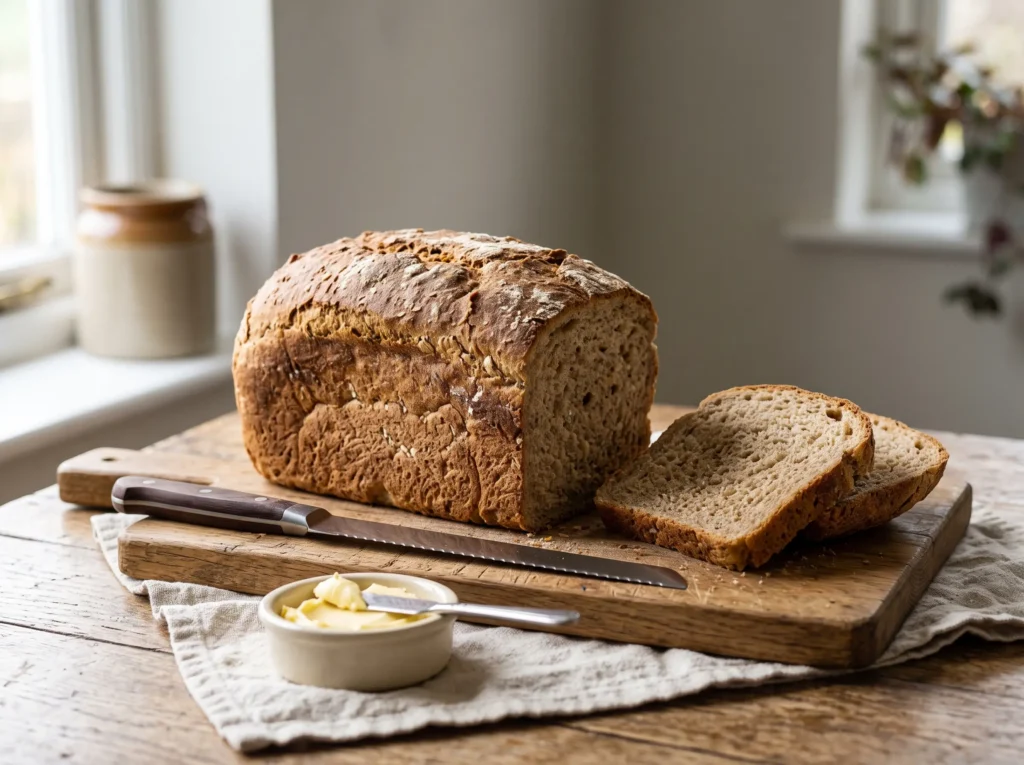
Loaf 2 — Soft Whole Wheat Bread:
- 1 and 1/8 cups warm water
- 2 tablespoons honey (substitute: maple syrup)
- 2 tablespoons unsalted butter
- 2 cups whole wheat flour
- 1 cup bread flour
- 1 and 1/2 teaspoons salt
- 2 teaspoons active dry yeast
Loaf 3 — Garlic Herb Bread:
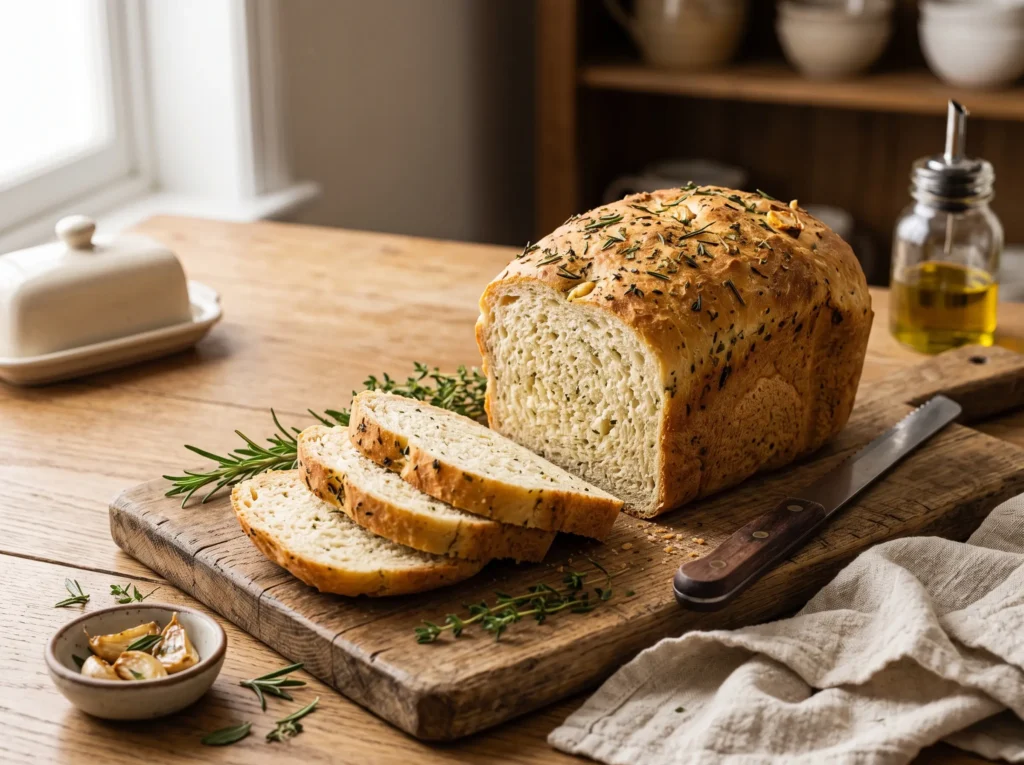
- 1 cup warm water
- 2 tablespoons olive oil
- 3 cups bread flour
- 1 teaspoon garlic powder
- 1 tablespoon dried Italian herbs
- 1 and 1/2 teaspoons salt
- 1 tablespoon sugar
- 2 and 1/4 teaspoons active dry yeast
Loaf 4 — Cinnamon Raisin Bread:
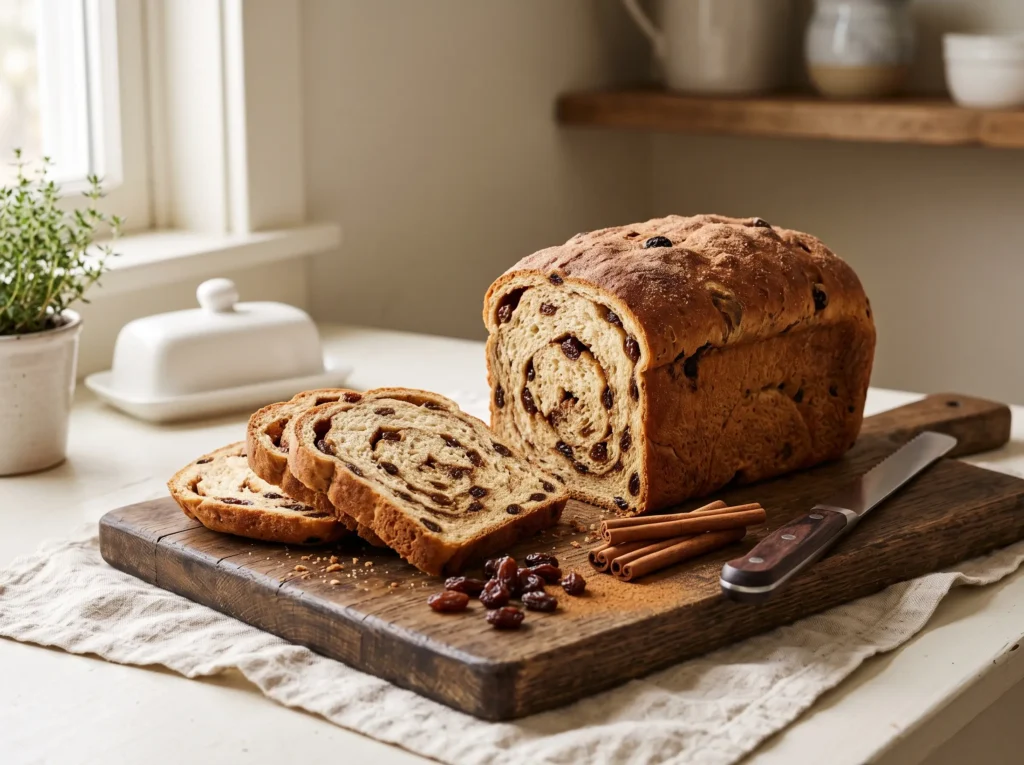
- 1 cup warm milk (substitute: oat milk)
- 2 tablespoons butter
- 3 cups bread flour
- 3 tablespoons sugar
- 1 and 1/2 teaspoons cinnamon
- 1 teaspoon salt
- 3/4 cup raisins (substitute: dried cranberries)
- 2 and 1/4 teaspoons active dry yeast
Loaf 5 — Honey Oat Bread:
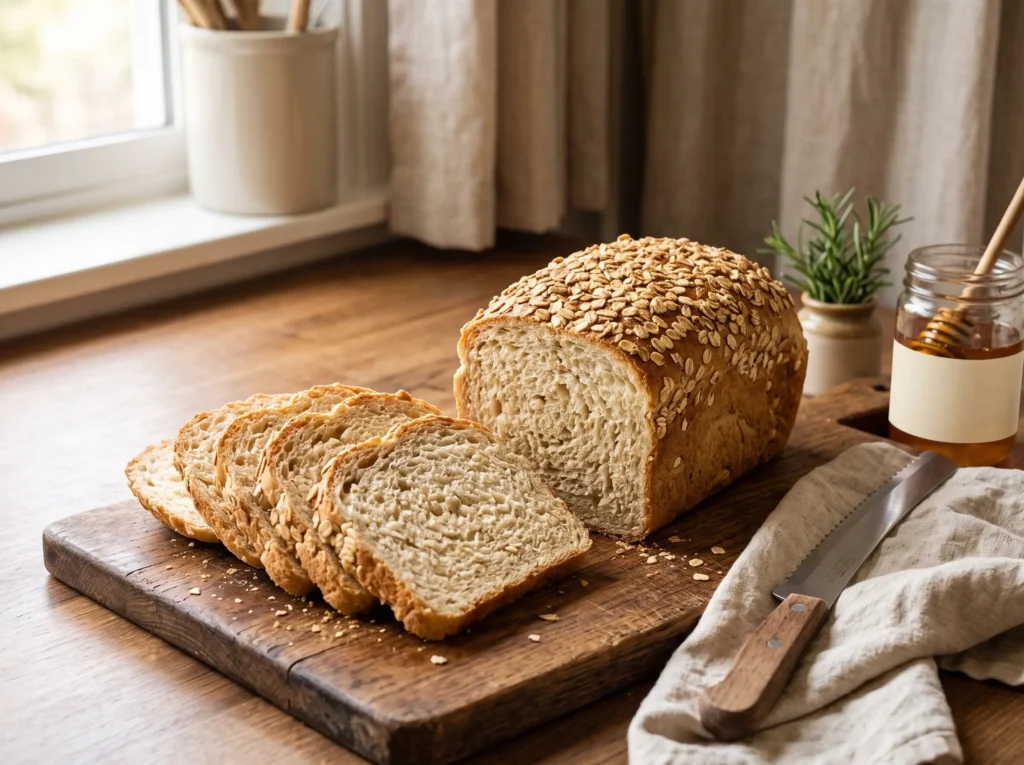
- 1 cup warm water
- 3 tablespoons honey
- 2 tablespoons butter
- 2 and 3/4 cups bread flour
- 1/2 cup rolled oats (substitute: quick oats)
- 1 and 1/2 teaspoons salt
- 2 teaspoons active dry yeast
Bread flour gives homemade bread a better rise and chewier texture because of its higher protein content. Learn more about bread flour and why it works so well in bread machine recipes.
Timing
One of the biggest advantages of bread machine recipes is how little active time they demand from you.
| Loaf | Prep Time | Machine Time | Total Time |
| Classic White | 10 minutes | 3 hours | 3 hours 10 minutes |
| Whole Wheat | 10 minutes | 3 hours 30 minutes | 3 hours 40 minutes |
| Garlic Herb | 10 minutes | 3 hours | 3 hours 10 minutes |
| Cinnamon Raisin | 10 minutes | 3 hours | 3 hours 10 minutes |
| Honey Oat | 10 minutes | 3 hours | 3 hours 10 minutes |
Your hands-on time for every single one of these loaves is just 10 minutes — roughly 85% less active effort than traditional hand-kneaded bread. The machine handles everything else while you go about your day.
Step-by-Step Instructions
Step 1: Read Your Machine’s Manual First
Every bread machine is slightly different. Before anything else, check your machine’s capacity (most beginner machines are 1.5 to 2 pound loaves) and confirm which cycle to use. This five-minute investment saves you from a loaf that overflows the pan or never rises properly.
Step 2: Measure Ingredients with Precision
Bread baking is one area where eyeballing measurements leads to real problems. Use a kitchen scale for flour whenever possible — one cup of flour measured by hand can vary by up to 20 grams depending on how it was scooped. That difference alone can make or break your loaf’s texture.
Step 3: Add Ingredients in the Right Order (Critical)
This is the step most beginners get wrong. Always add ingredients in this sequence: liquids first, then fats, then dry ingredients, and yeast last on top. The reason is simple — you never want the yeast touching the liquid before the machine starts, especially if you are using the delay timer. Salt and yeast placed in direct contact can also inhibit yeast activity, so nestle the yeast in a small well in the center of your flour, away from the salt on the sides.
Step 4: Select the Right Cycle and Loaf Size
For the Classic White and Garlic Herb, use the Basic or White Bread cycle. For Whole Wheat, always select the Whole Wheat cycle — it has a longer knead and rise time that whole grain flour needs. For Cinnamon Raisin, use the Basic cycle and add raisins at the beep signal (usually around 30 minutes in) so they do not get pulverized during kneading. For Honey Oat, the Basic cycle works perfectly.
Step 5: Check the Dough at the 10-Minute Mark
About 10 minutes after the machine starts kneading, open the lid and check your dough ball. It should be smooth, slightly tacky, and pulling cleanly away from the sides. If it looks too dry and crumbly, add water one teaspoon at a time. If it looks too wet and sticky, add flour one tablespoon at a time. This single habit is what separates consistently great results from hit-or-miss baking.
Step 6: Let It Cool Before Slicing
When the machine beeps, remove the bread pan immediately and turn the loaf out onto a wire rack. Wait at least 20 to 30 minutes before slicing. Cutting into hot bread compresses the crumb and makes it gummy — the loaf is still finishing its internal structure during those first minutes out of the machine.
Nutritional Information
The following values are approximate per slice (based on a 12-slice loaf) for the Classic White Sandwich Bread:
| Nutrient | Amount Per Slice |
| Calories | 145 kcal |
| Total Fat | 2.5g |
| Saturated Fat | 1.2g |
| Carbohydrates | 27g |
| Dietary Fiber | 1g |
| Sugar | 2g |
| Protein | 4.5g |
| Sodium | 195mg |
Compared to a typical store-bought white sandwich bread, which averages around 160 to 180 calories per slice and contains preservatives, emulsifiers, and added sugar, this homemade version is a noticeably cleaner and more wholesome option.
Why You’ll Love These Bread Machine Recipes
- Perfect for beginner bakers.
- Uses simple pantry ingredients.
- Fresh homemade bread with fewer preservatives than most store-bought loaves.
- Five easy recipes for different tastes and occasions.
- Bread machine does almost all the work.
Healthier Alternatives for the Recipe
These bread machine recipes are already miles ahead of store-bought in terms of ingredients, but here are some easy tweaks to make them even more nutritious:
- Boost fiber: Replace up to half the bread flour with whole wheat flour in any of these recipes. The texture becomes slightly denser but the nutritional payoff is significant.
- Reduce sodium: Cut the salt by up to one-quarter teaspoon in each recipe without meaningfully affecting the rise or flavor.
- Add seeds: Stir in two tablespoons of flaxseed, sunflower seeds, or sesame seeds for healthy fats and extra texture.
- Cut sugar: In the Classic White and Garlic Herb recipes, the sugar primarily feeds the yeast. You can reduce it by half without affecting the final loaf noticeably.
- Dairy-free: Swap butter for coconut oil or a neutral-flavored vegan butter in any recipe. Replace milk with oat milk or almond milk using a 1:1 ratio.
- Lower glycemic: Use white whole wheat flour instead of standard bread flour for a lighter texture than traditional whole wheat with a better nutritional profile than white.
Serving Suggestions
Fresh bread deserves a moment to shine. Here are some ideas that work beautifully with each of these five loaves:
- Classic White: Perfect for classic BLT sandwiches, French toast the next morning, or simply toasted with good-quality butter and flaky sea salt.
- Whole Wheat: Pairs wonderfully with avocado, a drizzle of olive oil, and everything bagel seasoning for a hearty open-faced breakfast.
- Garlic Herb: Serve alongside a bowl of tomato soup or pasta for an Italian-inspired dinner that requires almost zero extra effort.
- Cinnamon Raisin: Toast it and spread with cream cheese or honey butter for a breakfast that feels indulgent but comes together in seconds.
- Honey Oat: Slice thick and use for grilled cheese sandwiches — the slight sweetness from the honey creates a caramelized crust that is absolutely irresistible.
Common Mistakes to Avoid
Even with a machine doing most of the work, a few common errors can derail your bread machine recipes:
- Using cold liquids: Yeast activates best between 100°F and 110°F. Cold water slows or kills it, while water above 120°F destroys it entirely. Always check your liquid temperature with a thermometer.
- Old or expired yeast: This is the number one reason beginner loaves do not rise. Check the expiration date on your yeast and store it in the refrigerator or freezer after opening.
- Opening the lid repeatedly: Every time you lift the lid during the rise or bake cycle, you release heat and disrupt the environment the dough needs. The 10-minute dough check is the only time you should open it.
- Wrong flour type: Using all-purpose flour instead of bread flour produces a noticeably less chewy, less structured loaf. Bread flour has higher protein content, which builds better gluten.
- Skipping the dough check: Humidity, altitude, and even the age of your flour affect hydration. A quick visual check at the 10-minute mark keeps you in control of the outcome.
- Not removing the bread immediately: Leaving the loaf in the machine after the cycle ends causes the bottom to steam and become soggy. Remove it right away.
Storing Tips for the Recipe
Keeping homemade bread fresh requires a slightly different approach than store-bought, since there are no preservatives at work here:
- Room temperature: Store your loaf wrapped in a clean kitchen towel or in a bread bag at room temperature for up to 3 days. Avoid plastic bags for whole loaves — they trap moisture and make crusts soft and sometimes gummy.
- For longer freshness: Slice the entire loaf once cooled and store slices in a zip-lock bag with the air pressed out. This keeps them fresh at room temperature for up to 4 days.
- Refrigerator: Bread actually goes stale faster in the fridge due to a process called retrogradation. Avoid refrigerating unless your kitchen is very warm and humid.
- Freezing: All five of these loaves freeze exceptionally well for up to 3 months. Slice before freezing, separate slices with small pieces of parchment paper, and pull out individual slices as needed. They toast straight from frozen in about 2 minutes.
- Reviving day-old bread: Sprinkle the loaf lightly with water and place it in a 350°F oven for 8 to 10 minutes to restore that fresh-baked crust and soft interior.
Conclusion
Bread machine recipes do not have to be complicated to be incredible. With the right ingredient order, a quick dough check, and a little patience at the cooling rack, all five of these beginner loaves deliver bakery-quality results with almost zero effort. Pick your favorite, load up your machine, and let it do the work. Try one this week and share how it turned out in the comments below — we would love to hear which loaf became your household favorite. Subscribe for weekly recipes delivered straight to your inbox.
- Want to bake more homemade bread? Try the following recipes: Bread Machine French Bread and Ezekiel Bread Recipe
- You can also explore our complete Bread Recipes collection for even more baking inspiration.
FAQs
Can I use all-purpose flour instead of bread flour in these recipes?
Yes, but the results will be different. Bread flour contains more protein (about 12–14%) than all-purpose flour (10–12%), producing stronger gluten, a better rise, and a chewier texture. For the best results, especially if you’re new to bread baking, use bread flour whenever possible.
Why did my bread collapse in the middle after baking?
A collapsed loaf is usually caused by too much liquid, yeast, or sugar. Try reducing the yeast by ¼ teaspoon, measure your ingredients carefully, and make sure your bread machine completes a full baking cycle before removing the loaf.
Can I make gluten-free bread in a regular bread machine?
Yes. Use a gluten-free bread flour blend designed for bread machines, and choose the gluten-free cycle if your machine has one. Keep in mind that gluten-free dough is much softer than traditional bread dough and resembles a thick batter rather than a dough ball.
How do I know if my yeast is still active?
Proof the yeast before baking by mixing it with the warm water and sugar from the recipe. Let it sit for about 10 minutes. If it becomes foamy and bubbly, the yeast is active. If there is little or no activity, replace it with fresh yeast.
Can I add mix-ins like cheese, nuts, or chocolate chips?
Absolutely. Most bread machines have an add-in signal that sounds about 30 minutes into the kneading cycle. Add ingredients such as cheese, nuts, dried fruit, or chocolate chips at that point for the best distribution.
Why does my bread have a hole in the bottom?
The hole is left by the bread machine’s kneading paddle and is completely normal. To make it smaller, you can carefully remove the paddle after the final kneading cycle and before baking begins.
What is the best bread machine for beginners?
Choose a bread machine with Basic, Whole Wheat, and Gluten-Free settings, a delay timer, and a 2-pound loaf capacity. Models from Zojirushi and Cuisinart are popular choices because they are reliable, easy to use, and produce consistently excellent results.
Bake It. Love It. Tell Us About It.
There are no reviews yet. Be the first one to write one.