Bread Machine French Bread: Step-by-Step Guide to the Best Loaf
What if your bread machine could create bakery-quality loaves with just four ingredients? Most home bakers assume artisanal results require hours of kneading and complex techniques. But this guide flips that script.
Using insights from Bread Dad and Paula Rhodes, we’ll show you how to craft a crispy golden crust and airy interior. Their tested methods simplify the process while delivering authentic texture. You’ll need basic pantry staples – no specialty tools or advanced skills.
This walkthrough covers every detail: mixing dough in your machine, shaping it into classic baguettes, and avoiding common pitfalls. Discover why precise yeast activation matters and how steam transforms ordinary bakes into professional-grade results.
Craving a Parisian bakery experience at home? Let’s break down why this recipe works – and how you can master it in one afternoon.
Table of Contents
Introduction to Making Homemade French Bread
The secret to perfect homemade loaves lies in mastering a few simple steps. Even first-time bakers can achieve professional results with minimal effort. Traditional methods often involve complex timing, but modern tools streamline the entire process.
Overview of the Recipe Process
This method uses four core ingredients: flour, water, yeast, and salt. About 90% of the dough-making process is managed by your machine. Here’s how it unfolds:
- Add dry and wet ingredients in the recommended order.
- Let the machine knead for consistent gluten development
- Allow the first rise directly in the appliance
- Shape and bake manually for artisanal flair
Total active time? Just 15 minutes. The controlled environment ensures proper yeast activation every time.
Benefits of Using a Bread Machine
These countertop helpers eliminate guesswork. They maintain ideal temperatures for yeast activity and knead with industrial precision. Key advantages include:
- No overworked dough from hand mixing
- Automatic timers for flexible baking schedules
- Consistent hydration levels in every batch
While shaping still requires hands-on attention, the machine handles the most technical steps. Just remember: bread flour’s higher protein content creates better structure than all-purpose alternatives.
Understanding the Role of Bread Machine French Bread
Imagine baking a golden, crusty masterpiece with minimal effort on your part. This approach combines traditional craftsmanship with modern precision, delivering reliable results every time. The method’s success hinges on balancing simplicity with scientific accuracy.
Why This Recipe Stands Out
Consistency separates this technique from manual methods. Automated kneading ensures even gluten development, while precise temperature control activates yeast perfectly. You’ll notice two critical ingredients working in harmony: salt enhances flavor depth, and a teaspoon of sugar fuels fermentation without sweetness.
Measurements matter here. Using exact cups of flour and water guarantees the ideal dough hydration. The pan’s non-stick surface prevents sticking, and built-in timers let you schedule baking around your day. In under 90 minutes, you’ll have a uniform loaf with professional structure.
The Appeal of Freshly Baked French Bread
There’s nothing quite like the crackle of a crisp crust revealing a light, airy center. Steam created during baking forms that signature sheen and crispness. Every slice shows off those uneven holes—a clear sign of well-fermented dough.
Enthusiasts love this recipe for its efficiency. Shape the dough on parchment, slide it onto a preheated pan, and let heat work its magic. The result? A warm, fragrant loaf that rivals Parisian bakeries – all with just 15 minutes of active prep.
Essential Equipment for Your Bread Machine Recipe
Your toolkit determines whether you’ll wrestle with dough or achieve effortless perfection. While the process simplifies complex techniques, having the right gear ensures professional-grade results every time.
Bread Machine and Its Settings
Models like Hamilton Beach or Zojirushi offer preset cycles that handle kneading and rising. Use the “dough” setting for optimal gluten development – it typically runs 90 minutes. Avoid using olive oil here; neutral options like vegetable or grapeseed prevent overpowering flavors while keeping the crust tender.
Other Required Kitchen Tools
Precision starts with dry measuring cups and a digital scale. A silicone spatula scrapes every bit of dough, while a pastry brush applies melted butter for golden finishes. For consistent size, use a baking stone to mimic professional oven conditions.
Three tips elevate your results: First, warm tools with lukewarm water before mixing to activate yeast faster. Second, track time closely during the final rise – overproofing creates dense textures. Finally, Avoid hardened residue by cleaning your gear as soon as you’re done.
Ingredients Breakdown and Their Importance
The foundation of every great loaf starts with understanding your components. Four simple elements work in harmony to create that signature crust and airy crumb. Let’s explore why each matters.
The Role of Bread Flour, Yeast, and Salt
The 12–14% protein in bread flour plays a key role in gluten formation. This gluten network captures gas bubbles as the dough ferments, forming an airy, open crumb. Instant yeast (often labeled bread machine yeast) activates faster than active dry varieties, eliminating pre-proofing steps.
Salt pulls double duty by boosting flavor and regulating yeast activity. Too little causes over-fermentation, while excess inhibits rise. Aim for 1.8-2% of flour weight for balanced results.
Tips on Measuring for Consistency
Use dry measuring cups for flour – spoon it in lightly and level with a knife. For precision, a kitchen scale ensures ±5 gram accuracy. Water temperature matters most with active dry yeast: 110°F wakes it up, while 125°F kills it.
- Bread machine yeast works at room temperature
- Olive oil softens texture without altering taste
- Add ½ tsp sugar to boost browning if skipping fat
These tweaks let you customize crust crispness and interior tenderness while keeping the recipe’s integrity intact.
Step-by-Step Guide: Preparing the Dough in Your Bread Machine
Mastering dough preparation transforms your kitchen into a mini bakery. Follow these precise instructions to ensure your mixture rises perfectly every time. The right sequence and temperature control make all the difference.
Setting Up the Dough Cycle
Add 1¼ cups warm water (105–110°F) to the pan first. Gently layer 4 cups of flour over it, then add 1½ tsp salt. Create a small well in the center for 2¼ tsp yeast – this prevents premature activation.
Select the “dough” cycle on your appliance. Most models take 90 minutes to complete kneading and first rise. Watch during the first 5 minutes to ensure paddles fully incorporate dry ingredients. If flour sticks to the sides, use a spatula to gently push it down.
Managing Ingredient Order and Temperature
Room-temperature flour absorbs liquid better than chilled varieties. Always add yeast last to avoid contact with salt until mixing begins. Test water with a thermometer – too hot kills yeast, while cold slows fermentation.
- Ideal dough consistency resembles soft playdough
- Adjust with 1 tbsp water or flour if needed
- Stop the cycle if ingredients aren’t blending after 8 minutes
Successful batches hinge on these details. Your appliance does the heavy lifting, but your attention during setup guarantees professional-grade dough ready for shaping.
Shaping and Scoring Your French Bread
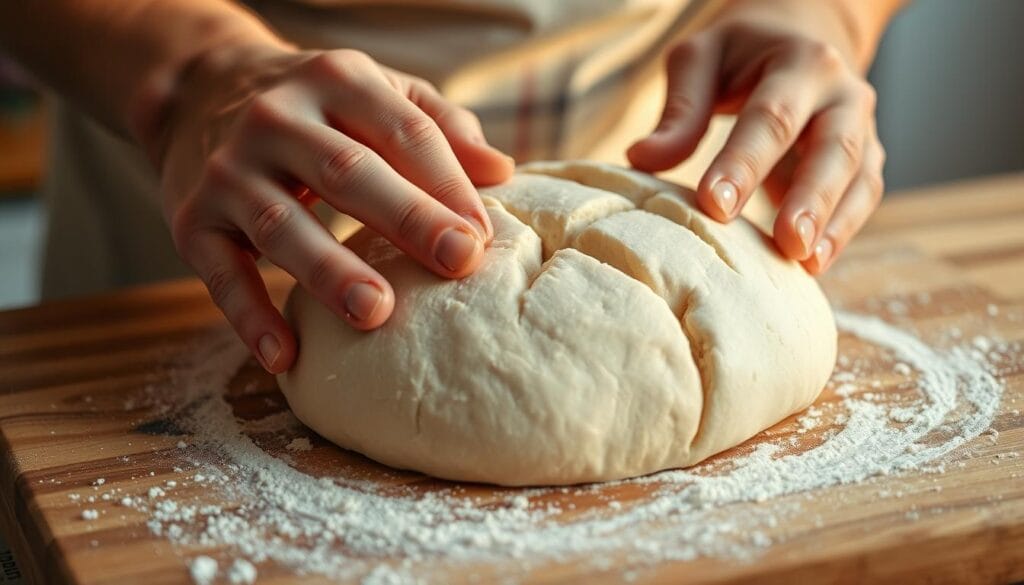
Transform dough into artisanal perfection through strategic handling. Begin by dusting your work surface lightly with flour. Gently place the risen dough on it, being careful not to deflate the air pockets.

Techniques for the Ideal Baguette Shape
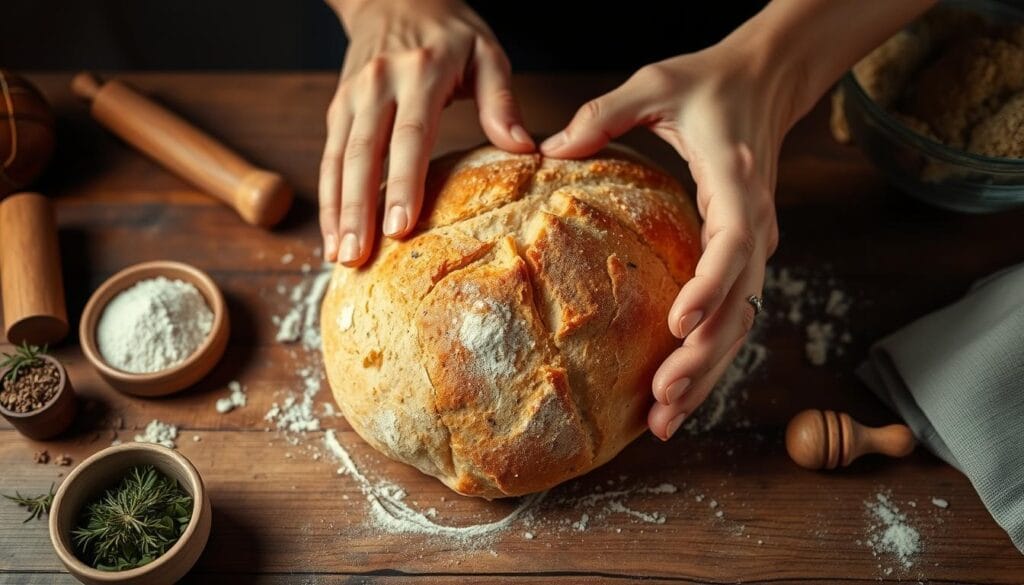
Flatten the dough into a 12-inch-long rectangle. Bring the long sides to the center, with a slight overlap. Roll it tightly from one end, sealing the seam with your palm. Pinch the edges to create tapered ends.
Let the shaped loaf rest 15 minutes under a damp cloth. This prep step relaxes gluten for easier scoring later.
Methods and Tools for Accurate Scoring
Use a razor-sharp knife or lame angled at 30 degrees. Make 3-5 diagonal cuts along the top surface. Each slice should be ¼-inch deep – shallow enough to guide expansion without collapsing the structure.
Once baked, move the loaf straight to a wire rack to let steam escape and avoid sogginess. Wait 30 minutes before cutting to preserve the crumb’s texture.
Tips and Tricks for a Perfect Finish
Achieving bakery-level results hinges on mastering these final touches. Even small adjustments during the last stages can elevate your creation from good to exceptional. Stick to these steps to preserve the perfect flavor and texture.
Enhancing Crust and Texture
Heat your oven to 450°F with a thick sheet pan already in place. This creates even heat, just like a pro deck oven. Place dough on parchment paper before sliding it onto the hot surface – the sudden temperature shock jumpstarts oven spring.
For a glossy finish, spray water into the oven during the first 5 minutes of baking. Steam delays crust formation, allowing maximum rise. Turn the pan halfway through baking to ensure even browning.
Avoiding Common Baking Errors
Set timers in 3-minute intervals during the final 10 minutes. This prevents over-darkening while ensuring thorough cooking. If the edges start browning too fast, loosely tent foil over the top—don’t seal it shut.
Check internal temperature with a thermometer – 190-200°F indicates doneness. Let loaves cool completely on a wire rack before slicing. Slicing too soon lets steam escape, resulting in a gummy crumb.
Customizing Your Bread Machine French Bread Recipe
Personalization turns basic recipes into signature creations. With smart tweaks, you can adapt this classic formula to match dietary preferences or appliance specifications. Let’s explore how simple swaps unlock new flavors while maintaining structural integrity.

Flour Blends and Fat Alternatives
Replace 25% of white flour with whole wheat for nutty undertones. For richer texture, substitute water with milk or add 1 tbsp olive oil during mixing. Butter works too but creates a denser crumb. These changes impact rise times – whole wheat versions may need 10 extra minutes during fermentation.
Adjusting for Appliance Variations
Smaller machines require halving ingredients to prevent overflow. Check your model’s maximum capacity before starting. If using a 1-lb setting, reduce yeast by ¼ tsp to avoid overproofing. Models without a “dough” cycle? Use manual knead settings for 15 minutes followed by a warm rise.
Creative serving ideas elevate your results. Slice thicker pieces for bruschetta or thinner cuts for crostini. Drizzle baked loaves with olive oil and herbs for aromatic focaccia-style bread. Remember: Accurate measurements provide consistency, even when incorporating add-ins like roasted garlic or seeds.
Balance innovation with fundamentals. Track how substitutions affect hydration and adjust liquid ratios as needed. Your appliance handles the science – you control the artistry.
Troubleshooting Common Bread Machine Issues
Even experienced bakers encounter hiccups when working with automated appliances. Let’s tackle frequent obstacles and their solutions to keep your baking process smooth.
Resolving Dough Consistency Problems
Sticky or crumbly dough usually results from inaccurate measurements. Add 1 tbsp flour if the dough clings to the pan’s sides. For dry textures, sprinkle ½ tbsp water during kneading. Always use leveled cups and confirm your scale’s calibration monthly.
- Check room temperature: Cold environments slow gluten development
- Verify yeast freshness by dissolving it in 110°F water with 1 tsp sugar
- Restart the cycle if paddles stop moving mid-knead
Fixing Rise and Baking Timing Issues
Flat loaves usually indicate expired yeast or incorrect ingredient order. Always layer wet components first, followed by dry elements. If the dough doesn’t double in size, move it to a warm spot (75-80°F) for 30 extra minutes.
To fix undercooked centers, decrease oven heat by 25°F and increase baking time. Use an internal thermometer – 190°F signals doneness. Burnt crusts? Shield the top with foil during the final 10 minutes.
Conclusion
Creating artisanal loaves at home rewards you with freshness no store can match. By following the precise order of ingredients and trusting your appliance’s timing, you’ve mastered mixing, shaping, and achieving that crackling top crust. The process shines in its simplicity—minimal effort for maximum flavor.
Key takeaways? Always preheat your oven with a sheet pan inside for instant heat transfer. Keep a close eye on baking time: 20–25 minutes at high heat, followed by 1–2 hours of resting for the best rise. These details separate good results from exceptional ones.
Don’t hesitate to tweak flavors—add rosemary or sesame seeds during serving for personal flair. Share your golden-crusted triumphs with friends, and remember: perfect loaves demand patience, not perfectionism. Your kitchen now holds the secret to authentic bakery magic.
FAQ
Why should I use a bread machine for French-style loaves?
A bread machine simplifies mixing and kneading, ensuring consistent dough texture. It also saves time compared to manual methods while maintaining the artisanal quality of traditional recipes.
Can I substitute all-purpose flour for bread flour?
Bread flour’s higher protein content creates better gluten structure, but all-purpose works in a pinch. Add 1 tbsp of vital wheat gluten per cup of all-purpose flour to enhance texture.
What’s the secret to preventing a dense texture in homemade bread?
Ensure your yeast is fresh, measure ingredients precisely, and avoid opening the appliance during the rise phase. Proper dough hydration (water-to-flour ratio) is also critical.
Why do you score dough before putting it in the oven?
Scoring controls expansion during oven spring, creating an even rise and crisp crust. Hold a razor blade or lame at a 30° angle to make clean, bakery-style cuts.
My crust turns out too thick. How can I adjust this?
Brush the shaped dough with water or milk before baking for a thinner crust. During the last 10 minutes of baking, you can loosely cover the loaf with foil
Can I add herbs or mix-ins to this recipe?
Absolutely! Fold in rosemary, garlic, or sun-dried tomatoes during the last kneading cycle. Keep additions under ½ cup to avoid disrupting the dough’s structure.
Why does my loaf collapse after baking?
Overproofing is the likely culprit. Check yeast expiration dates, and avoid excess humidity. Use your appliance’s timer feature if ambient kitchen temperatures exceed 75°F.
How do I store homemade French-style loaves?
Cool completely on a wire rack, then wrap in linen or place in a paper bag for up to 2 days. For longer storage, freeze sliced portions in airtight bags for 3 months.
Bake It. Love It. Tell Us About It.
There are no reviews yet. Be the first one to write one.

