Mini Pie Crust Tutorial: Easy Homemade Crust for Small Pies
Creating the perfect pie crust can be a game-changer for any baker. Whether you’re making sweet treats or savory delights, a homemade crust elevates your baked goods to a new level.
Making your own dough from scratch allows for customization and control over ingredients, ensuring that your mini pies turn out exactly as you want. With a simple recipe and a few expert tips, you can achieve professional-quality results at home.
By following this tutorial, you’ll learn how to create a delicious and flaky crust that’s perfect for any occasion. You’ll discover the benefits of using homemade dough and how it compares to store-bought options.
Table of Contents
The Perfect Mini Pie Crust: Why Make Your Own
Homemade mini pie crusts offer a world of difference in flavor and texture compared to store-bought options. By making your own crust, you can achieve a delicate flakiness that elevates any filling.
Benefits of Homemade Mini Pie Crusts
Creating your own mini pie crusts provides several advantages. You gain complete control over ingredients, allowing you to avoid preservatives and adjust sweetness levels. Making your own crusts is also cost-effective, especially when producing multiple batches. The satisfaction of creating something from scratch adds an emotional element to your baking experience.
- Superior flavor and texture
- Control over ingredients
- Cost-effectiveness
Common Challenges and How We’ll Solve Them
While making homemade pie crusts can be rewarding, it comes with challenges like shrinkage, tough texture, and difficulty forming small shells. We’ll address these issues with proven techniques to ensure consistent results. The upside-down method we’ll explore solves many traditional problems by using gravity to maintain the crust’s shape during baking.
Essential Ingredients for Flaky Mini Pie Crusts
Creating the perfect mini pie crust begins with understanding the essential ingredients that make it flaky and delicious. The right combination of ingredients is crucial for achieving the desired texture and flavor in your mini pies.
Flour Options and Their Effects
The type of flour you choose significantly impacts the texture of your mini pie crust. All-purpose flour is a popular choice, but some bakers prefer blending it with cake flour for a more tender result. The protein content in your flour directly affects the crust’s texture – lower protein content (around 8-10%) creates a tender crust, while higher protein content develops more structure.
Fats: Butter, Shortening, or Both?
The choice of fat is critical in determining both the flavor and texture of your crust. Butter provides a superior taste but can be tricky to work with due to its low melting point. Shortening, on the other hand, creates reliable flakiness but lacks flavor. Many professional bakers opt for a combination of both to achieve the best of both worlds: the flavor of butter and the reliable structure of shortening.
Additional Ingredients That Make a Difference
Besides flour and fat, other ingredients play a crucial role in enhancing the flavor and texture of your mini pie crust. Salt enhances the flavor, while sugar adds tenderness and promotes browning. Acids like vinegar or lemon juice help prevent gluten development, resulting in a more tender crust. Keeping all your ingredients cold is also essential, as it prevents the fat from melting prematurely, ensuring those desirable flaky layers.
Equipment You’ll Need
The right equipment can make all the difference in your mini pie crust-making journey. To create perfect mini pie crusts, you’ll need some basic tools and a few optional gadgets that can simplify the process.
Basic Tools for Success
To start, you’ll need some fundamental tools to ensure your mini pie crusts turn out right. These include:
- A standard mixing bowl for combining ingredients by hand.
- Measuring cups and spoons for accurate measurements.
- A rolling pin to achieve even thickness in your crust.
- Mini muffin tins or small tart pans to shape your mini pies.
These basic tools provide the foundation for making mini pie crusts. A marble rolling pin can be particularly helpful as it stays cool, keeping your dough at an ideal temperature.
Optional Tools That Make Life Easier
While not necessary, some additional tools can make the process smoother and more efficient. These include:
- A food processor to quickly cut fat into flour.
- A pastry cutter for manual fat incorporation.
- Round cookie cutters in the 2.5-3.75 inch range for uniform circles.
- A cooling rack for proper cooling after baking.
Using these optional tools can enhance your experience and result in more consistent mini pie crusts. For instance, parchment paper and pie weights can be invaluable for blind baking, preventing bubbles and maintaining shape.
Step-by-Step Mini Pie Crust Recipe
Making mini pie crusts from scratch is easier than you think, and with this step-by-step guide, you’ll be on your way to creating perfect little pies. The process involves making the dough, rolling and cutting it, and then forming the mini crusts.
Making the Dough
To start, combine your dry ingredients, including flour, salt, and optional sugar, in a bowl or food processor. Ensure they’re well mixed before adding any fat. Next, add your cold, cubed butter and/or shortening to the flour mixture, working it in until you achieve a crumbly texture with visible pieces of fat about the size of small peas. Introduce ice-cold water one tablespoon at a time, mixing minimally until the dough just holds together when pinched. Overworking at this stage can lead to tough crusts.
- Mix dry ingredients thoroughly.
- Incorporate cold fat until crumbly.
- Add ice-cold water gradually.
Rolling and Cutting Techniques
Form the dough into a disc, wrap it in plastic wrap, and refrigerate for at least 30 minutes to relax the gluten and firm up the fat. Then, roll the chilled dough on a lightly floured surface to approximately 1/8 inch thickness, maintaining an even thickness throughout. Use a round cutter to cut circles, about 2.5-3.75 inches depending on your pan size.
- Chill the dough to firm it up.
- Roll out to the right thickness.
- Cut circles with a round cutter.
Forming the Mini Crusts
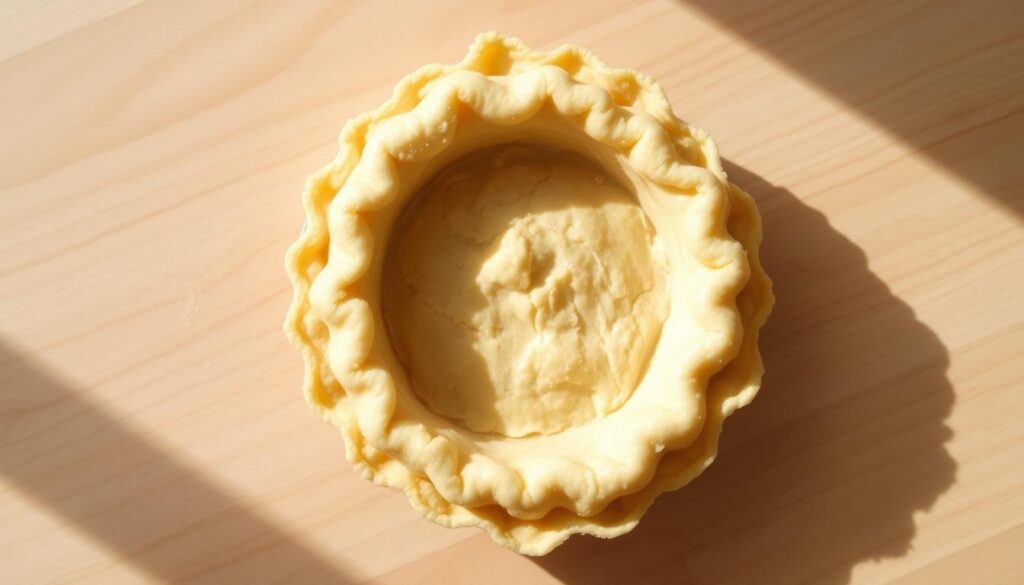
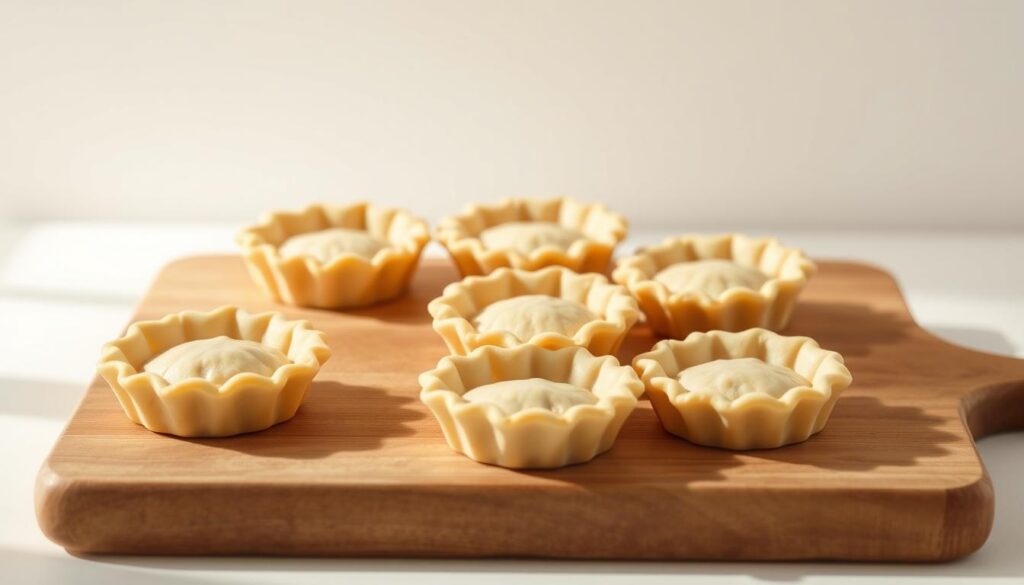
Gently press the dough circles into your mini muffin tin or tart pan, avoiding stretching the dough as you form it into the pan. Instead, ease it down until it reaches the bottom of each cavity. If you’re planning to blind bake, pierce the bottom of each crust with a fork.
- Gently press dough into the pan.
- Avoid stretching the dough.
- Pierce the bottom if blind baking.
By following these steps, you’ll be able to create perfect mini pie crusts for your favorite fillings. Whether you’re making sweet or savory pies, a well-made crust is the foundation of a delicious treat.
The Upside-Down Method: Preventing Shrinkage
One of the most effective ways to prevent shrinkage in mini pie crusts is by employing the upside-down method. This technique involves baking your crusts on the outside of an inverted cupcake pan, utilizing gravity to maintain the crust’s shape.
Why Traditional Methods Fail
Traditional methods of baking mini pie crusts often result in shrinkage. When you place dough inside muffin cups, the crust tends to slide down the sides as the fat melts during baking. This occurs because the proteins in the dough contract and the fat melts, causing the crust to shrink away from the pan’s sides if not properly supported.
Using Gravity to Your Advantage
The upside-down method solves this problem by flipping your cupcake tin upside down and forming the dough over the outside of each cup. This technique uses gravity to your advantage; the weight of the dough naturally helps maintain the desired shape during baking. Additionally, the outside of the crusts is exposed directly to the oven’s heat, resulting in more even browning and a properly cooked bottom.
Step-by-Step Instructions for the Upside-Down Method
To implement this method, follow these steps:
- Place your cut dough circles over the inverted cups.
- Gently press to form the crust.
- Pierce the crust with a fork to prevent bubbling.
- Freeze for 5 minutes to set the shape.
- Bake at 400°F for 10-12 minutes until golden brown.
- Allow the crusts to cool for 10 minutes on the pan before transferring to a wire rack.
By using the upside-down method, you’ll achieve perfectly baked mini pie crusts with minimal shrinkage.
Blind Baking Your Mini Pie Crusts
Blind baking is a crucial step in making mini pie crusts, especially when working with wet or no-bake fillings. This technique involves baking the empty pie crusts before adding the filling, ensuring a crispy and fully cooked crust.
When to Blind Bake
You should blind bake your mini pie crusts when using no-bake fillings like puddings, custards, or fresh fruit. It’s also necessary for fillings that are particularly wet or require less baking time than the crust needs. Blind baking provides a head start, preventing underdone bottoms and ensuring a crisp crust.
Techniques for Perfect Pre-Baked Shells
To achieve perfect pre-baked shells, chill the formed crusts thoroughly before baking. For traditional mini crusts, line each shell with parchment paper and fill with pie weights or dried beans to prevent bubbling. When using the upside-down method, weights aren’t necessary as gravity helps maintain the shape. Bake at a higher temperature (around 400°F) for the first 10-12 minutes, then reduce to 350°F if needed.

Troubleshooting Common Baking Issues
Common issues during blind baking include bubbling, uneven browning, and over-browning edges. To solve these, ensure proper docking or use weights, rotate the crusts halfway through baking, and cover edges with foil strips if necessary. For fully blind-baked shells, bake until completely golden brown.
Sweet and Savory Filling Ideas
The versatility of mini pies lies in their fillings, which can range from sweet treats to savory delights. You can experiment with various ingredients to create unique flavor combinations that suit any occasion.
Delicious Sweet Fillings
Sweet mini pies shine with creamy fillings like chocolate, coconut, or banana pudding. You can also try fruit-based fillings, such as fresh berries tossed with a little sugar and cornstarch, or pre-cooked apple and cherry fillings. No-bake cheesecake filling provides a rich, creamy option that’s perfect for mini pies. Top with fresh fruit, chocolate ganache, or caramel for added indulgence. For holiday gatherings, consider making miniature versions of classic pies like pumpkin, pecan, or sweet potato.
Savory Mini Pie Options
On the savory side, quiche fillings adapt beautifully to mini format. Combinations like spinach and feta, bacon and gruyere, or mushroom and herb create elegant appetizers. You can also make miniature pot pies filled with chicken and vegetables, beef stew, or curry. These make satisfying individual meals perfect for lunch boxes or dinner parties. Other options include caramelized onion and goat cheese tarts, tomato and herb galettes, or mushroom and thyme mini pies, offering sophisticated vegetarian choices for cocktail parties.
Storage and Make-Ahead Tips
Proper storage and make-ahead techniques can elevate your mini pie crust baking experience. To maximize the flexibility of your pie crust recipe, it’s essential to understand how to store and prepare ahead.
Unbaked pie dough can be refrigerated for 2-3 days or frozen for 3-6 months. To freeze, wrap your disc tightly in plastic wrap, place it in a freezer bag, and store. When you’re ready to use the frozen dough, thaw it overnight in the refrigerator to maintain the cold temperature necessary for proper handling.

- Prepare multiple batches of dough at once to maximize efficiency, portioning into individual discs sized for your mini pie needs before freezing.
- Baked, unfilled mini pie shells can be stored at room temperature in an airtight container for up to a week or frozen for about a month.
- For longer storage of baked shells, freeze them in airtight containers with parchment between layers to prevent breakage.
When making ahead for an event, consider what stage offers the best balance of convenience and quality. Often, preparing the dough ahead and baking fresh shells the day before is ideal. Label all stored components with dates and contents to keep track of freshness, especially when freezing multiple batches for future use.
Conclusion
Mastering the art of making mini pie crusts opens up a world of possibilities for both sweet and savory creations. With the techniques learned, you’re now equipped to experiment with various fillings and ingredients, creating personalized treats for any occasion.
The pie crust recipe provided is a versatile foundation for your culinary creativity. Whether you’re preparing for special events or simply elevating everyday meals, your newfound skills will prove invaluable. Remember, practice is key to perfecting your crust making abilities.
As you continue to make pie crust and experiment with different variations, you’ll find that the process becomes second nature. Don’t hesitate to print this recipe and make it your own by adapting it to your taste preferences and dietary needs. Happy baking!
FAQ
What is the best way to store leftover dough?
Can I use a food processor to make the dough?
How do I prevent my mini pie crusts from shrinking during baking?
What are some common issues with blind baking, and how can I troubleshoot them?
Can I make savory mini pies using this recipe?
How do I achieve a golden brown color on my mini pie crusts?
Bake It. Love It. Tell Us About It.
There are no reviews yet. Be the first one to write one.

